Easy DIY Framed Mirror
I wanted a Cool Framed Mirror for Madison’t Bedroom and to buy one the size that I wanted, it was going to cost around $70 – $100. Being the cheapskate frugal DIY gal that I am, I decided to make one.
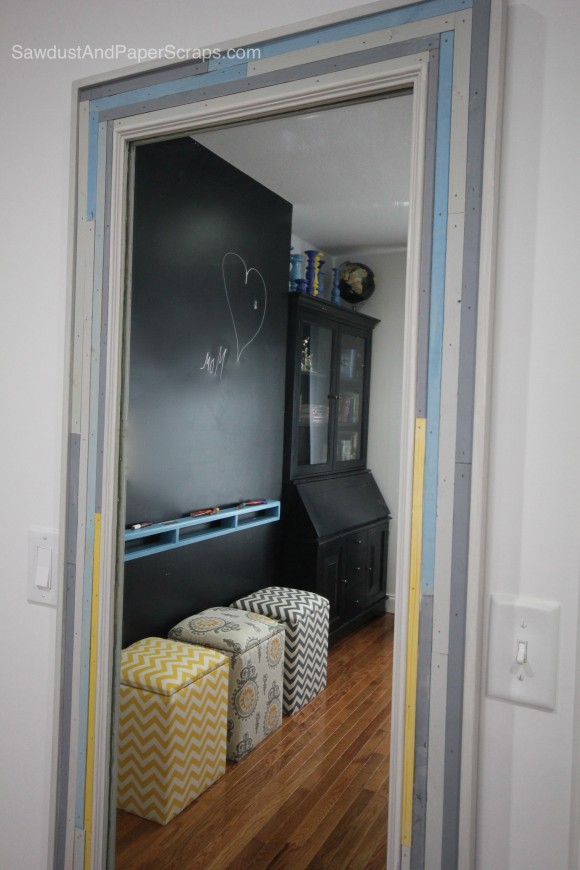
I had a builders’ mirror from my last house that I had already cut to size (we just moved before I got around to framing it). While I did not intend to have this crappy piece of mirror carefully crated and shipped to our new home, I wasn’t watching everything that was going on at the same time. I only have 2 eyes, after all. So, here it is.
I decided to use the mirror AND the crating wood for my frame. Free!
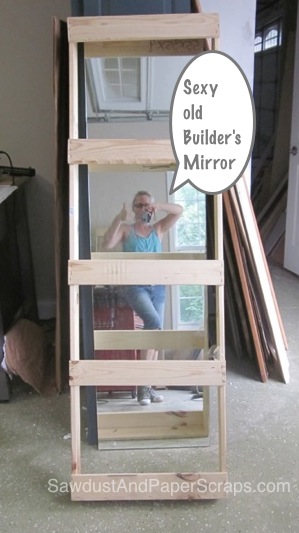
I cut my crate wood to size and cut Rabbets on the edge of all the pieces. For that, I lowered my saw blade to 1/4″ and ran the wood through a few times until the rabbet was about 3/8″ wide.
*The outside edge is covered so I cut the rabbet all the way to the end of each board.
I assembled the frame using pocket hole screws and then covered the entire back with a 1/4″ piece of hardboard!
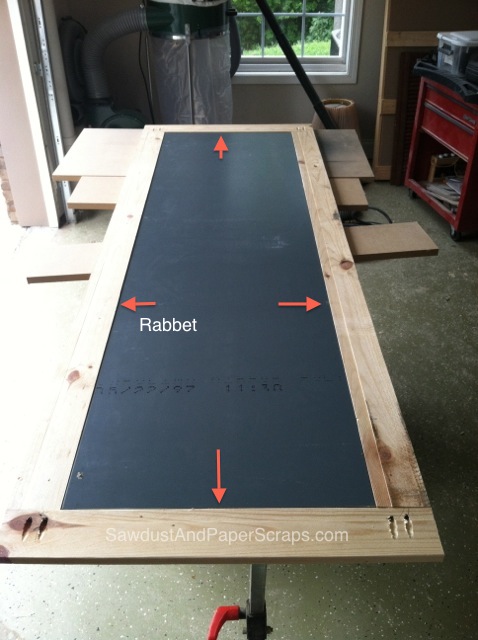
There are so many different ways you could finish a DIY Framed Mirror. It would look really cool at this point to stain it really dark and distressed. Like I did my Distressed Wood Countertops in my Workshop. However, that would not have worked in Madison’s bedroom.
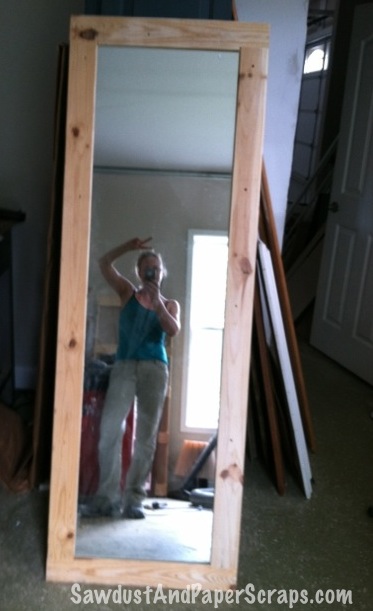
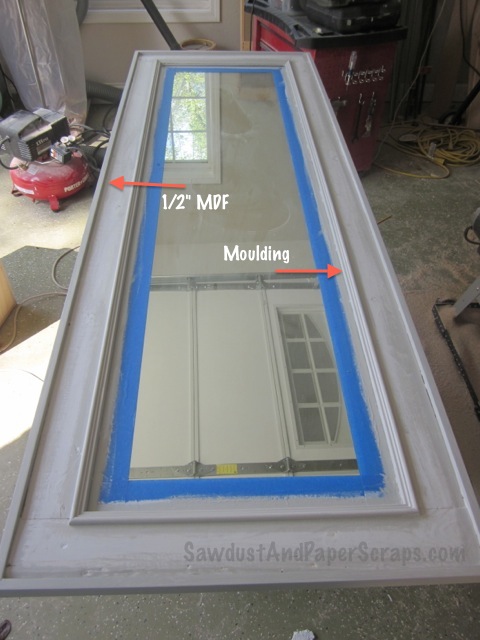
I added some trim to the inside and covered the outside edge with strips of 1/2″ x 1 1/2″ MDF. At this point, the whole Mirror could be painted and you’d be done…
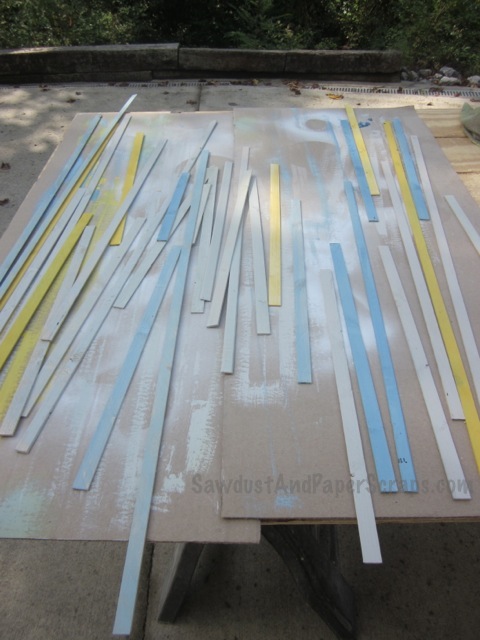
…but I didn’t. I cut a WHOLE bunch of thin strips of wood and painted them in shades of grey and blue. And just a few yellow.
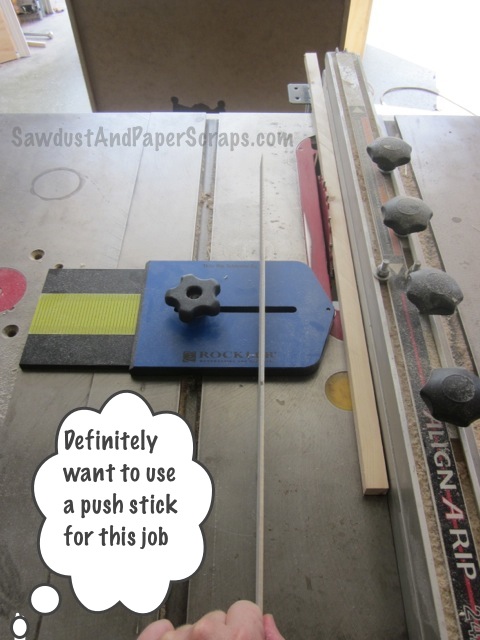
I used a handy Thin Rip Table Saw Jig I bought from Rockler.
I used an 18 ga nail gun .

I wanted to see the holes. It’s rustic. If you don’t, you might want to use caulk to glue them on (same as you would Applying Beadboard to Cabinets.)

Because those builder mirrors are so dang heavy, I used a heavy duty picture hanger on the back to hang it on the wall. It is tall enough to lean against the wall on the floor but because it’s right in the path from the entrance to the room and the closet, I didn’t want to take up any floor space.
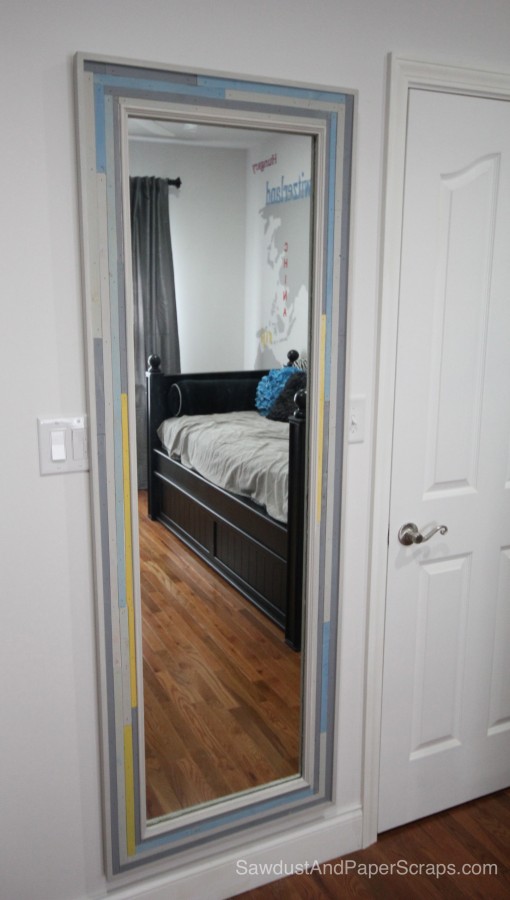
I love how it turned out and now Madison doesn’t have to run back and forth to my closet to check her outfit every day. That cuts down on about 30 precious morning minutes for us!
Mornings are difficult enough already. LOL


I love this mirror! Much better than any store bought one.
After the sweet comments you left on my
blog today I had to come by and thank you.. then I found this mirror post and it’s just what I need… thanks so much and now let me go back and read more because it looks pretty interesting in here… thanks so much
Sandy
I love the mirror and you always amaze me! But…I’m more interested in that “secretary” desk thing I see reflected in the mirror. LOL Our local thrift store has an old one similar to that and I’ve been trying to think where I could put it in our house. Did you buy that new or is it something you DIY’d for Madison’s room?
That hutch is from the Pottery Barn Outlet. It was damaged on one corner so it was pretty cheap. I used some wood putty and fixed it, painted it and you’d never know. Score!
Brilliant, you are!!! Love it!
Thanks Brenda.