So we have a problem. Continuing with Robin’s Sawdust Diaries, catch up on what you missed here: Part 1, Part 2.
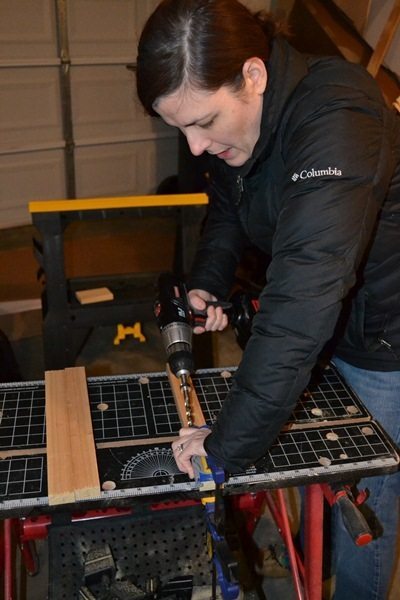
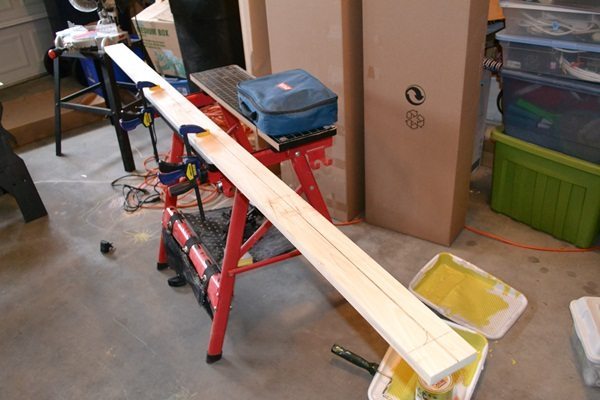
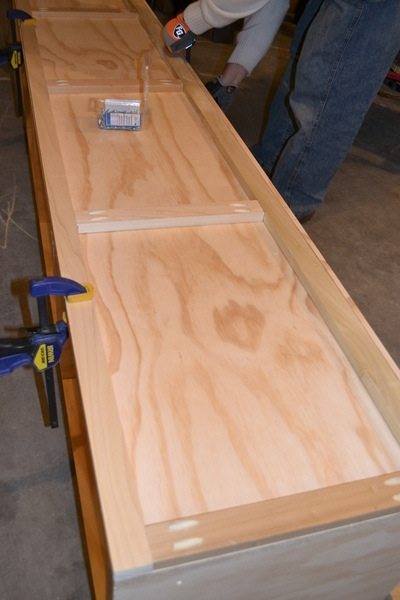
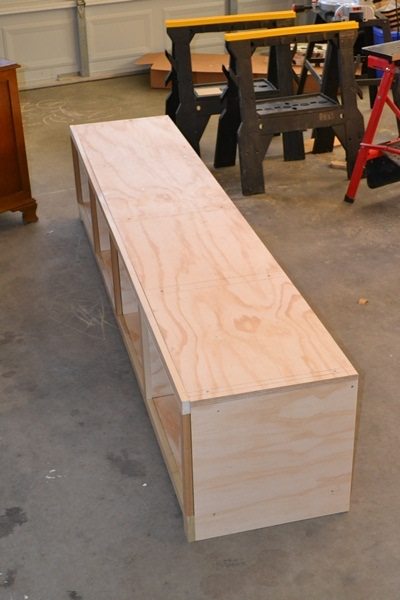
The next weekend, we started working on the bench again. We were able to quickly build the face frame of the window bench (out of poplar) and attached it to the window seat shell. By now the window seat was starting to resemble its final product. However, we needed more stability, so we went to work on the base that would hide underneath the seat.
Very quickly, we hit a problem. Our window seat will rest directly over a floor vent. Sandra had designed the plans to accommodate for a vent in the toe kick of the window seat. But when we started messing with our brand new decorative air vent, it was clear that the vent was too large. A quick call to Sandra identified the problem. When designing the plans, she had used the measurements listed on the package (for example, ours was 2” by 12”). Only these measurements relate to the size of the actual black vent that typically fits in the hole in the floor, and not the decorative plate. Really, why would the manufacturer not provide you with both measurements??
So after some throwing out some ideas (including covering the recessed toe kick with baseboard and the decorative faceplate in the middle), we removed the decorative plate from the vent cover. We used a jigsaw to cut a hole out for the front part of the base. Then we connected all the base pieces together. Later that day, we connected the base piece to the window seat. Finally we affixed the backing board to the back of the window seat with some finishing nails.
So that is where we are right now. The window seat is pretty heavy. It sits in our garage waiting for the next steps, which will be to bring it inside the playroom, re-measure the space for the bookshelves, and then build out the bookshelves.
Lessons learned:
– Once you have an expert walking you through the steps, it makes things much clearer than reading about it online or in a book.
– I wish we would have waited to affix the back panel after we brought the piece inside because now we don’t have a handhold in the back. Will make it much more difficult to complete.
– Know where/when to cut corners. We really are bad about this in other projects. I didn’t want to make any mistakes in this project, but we really didn’t need the Home Depot guy to shave 1/8” off some of our boards.
– Woodworking with small children can be stressful! We tried to include them when possible (they especially liked writing their names with wood glue).
Next up, Part 4.


Courtney says
It looks top-notch! I really wish HD / Lowes would make better cuts! Sad truth is, they just don’t care, usually.
Jim says
Here’s something I found out. I have a Lowes and HomeDepot pretty close to me. I almost always have them break my sheet goods down if I am by myself working on a project. When Lowes cut my sheets the edges were so nasty I had to recut all the edges and lose from 1/4 to 1/2″. When you are using oak or one of the more exotic plywoods that is a lot of money. I then went to HD because they were the only ones that carried Poplar plywood which I happen to like for shop items. The cuts were perfect. Clean as a whistle and right on the mark. So I asked what blade they were using. Turned out the will only use 60 tooth or above blades to cut sheets. Most of the time it is a high tooth count plywood blade. Checked with Lowes and they were using a rip blade to cut faster. So before you get your goods cut up, ask what blade they are using. I talked to Lowes and told them I would not buy sheet goods if they couldn’t use a decent blade to cut them down.
kristin says
Been following along and noticed one thing that made me laugh…your husband has a really nice head of hair-ha! But I am enjoying your project and look forward to the rest of it. Why is it men get those nice waves? My husband has the same:)