Sawdust Girl®

Renovation, cabinet building and woodworking plans and tutorials. Build like a Girl®

  • Home
  • About Me
    • Personal Posts
  • My Home
    • Illinois House
    • Tennessee House in Progress
      • Basement
      • Basement Storage Closet
      • Bedroom Office
      • Craft Room
      • Dining Room
      • Entry
      • Garage
      • Guest Bedroom
      • Hallway
      • Jack and Jill Bathroom
      • Kitchen
      • Kitchen Entry
      • Laundry Room
      • Library
      • Living Room
      • Loft
      • Madison’s Room
      • Master Bedroom
      • Master Closet
      • Pantry
      • Porch
      • Powder Room
      • Wes’ Office
      • Workshop (My)
    • Tennessee House Tour – Completed Rooms
  • Projects
    • Cabinet Making 101
      • Doors
      • Drawers
    • Countertops
    • Gift Ideas
    • Holiday
      • Christmas
      • Halloween
    • Recipes
    • Sewing
    • Woodworking
      • Wood Finishing
    • Workshop Storage and Organization
  • Woodworking Plans
    • Beds
    • Benches
    • Bookshelves
    • Desks
    • Home Accessories
    • Kitchen Cabinets
    • Lockers
    • Nightstands
    • Organization accessories
    • Tables
    • Vanities
    • Wardrobes
    • Workshops
  • Remodeling 101
    • Baseboard and Trim
    • crown molding
    • Demolition
    • Door and Window Casings
    • Door Installation
    • Drywall
    • Electrical work
    • Flooring
    • Home Maintenance
    • Painting
    • Plumbing
    • Resources
    • Safety
    • Tile
    • Wall and Ceiling Treatments
  • The Sawdust Diaries
    • Andrea
    • Ava D.
    • Beckie F.
    • Cara C.
    • Courtney B
    • Fawn T.
    • Jenn D.
    • Kelly C.
    • Kristy K.
    • Lara T.
    • Malisa B.
    • Marnie D.
    • Robin C.
    • Val F.
  • Tools and Products
    • Products
    • Tool Reviews and Overviews
  • E-books and Plans
    • My Account
    • Checkout
  • Build like a Girl® T-Shirts
  • Inspiration and Ideas
  • Calderwood Cottage
  • Privacy Policy
Sandra October 18, 2013

Playroom Built-ins -Robin 2

Sharing is caring!

  • Share
  • Tweet
  • Pin

Let’s screw something! Continuing with Robin’s project.  If you missed part 1, catch up before reading on!

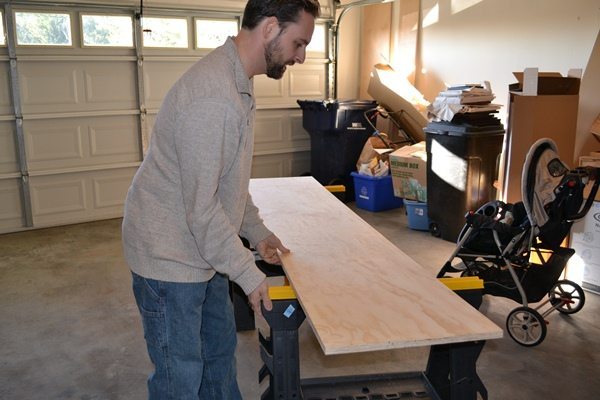
Sunday was a success!  We made it to Step 5 in our Sandra Plan. But not without a quick text and phone call to Sandra.

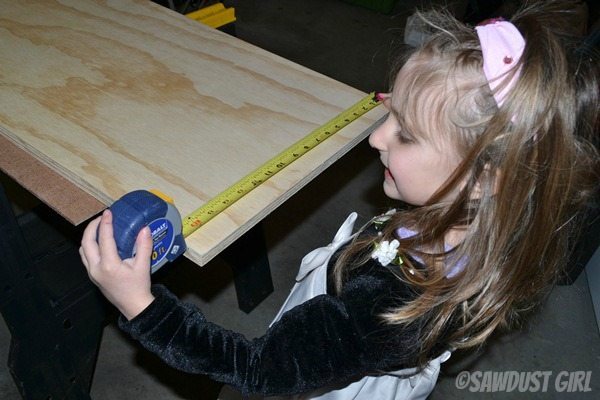
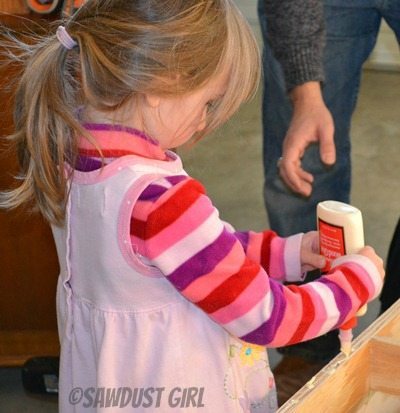
First we pulled our window seat’s bottom piece and marked up each place where the vertical pieces would attach. This was easy! I can work a tape measure no problem. We got the girls involved in some measuring and the gluing of the vertical boards in place.

Robin Playroom10

Robin Playroom15

Robin Playroom_11

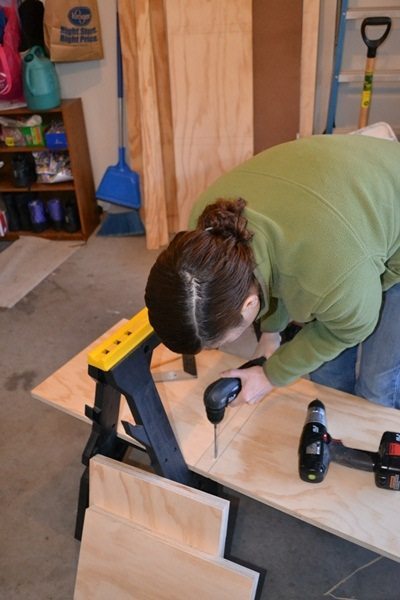
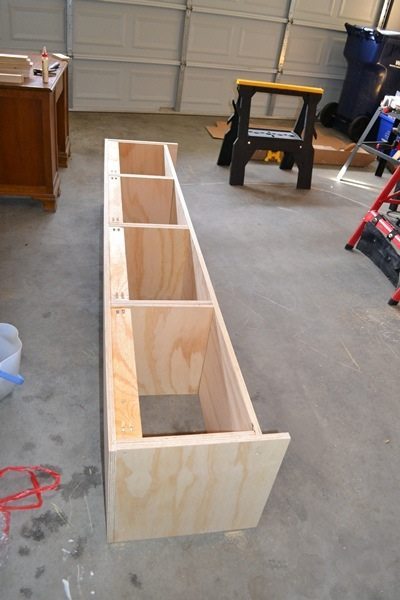
The hardest part was figuring out how to get the vertical pieces affixed to the horizontal piece. You can’t drill up, so we knew we had to place the horizontal piece up in the air, and use the vertical boards to support it.  That way we could drill the screws down into the boards. So after a little bit of debating which way would work (Sandra had suggested nailing the boards to keep them in place, but our nails were too big. We did not want to go back to the hardware store at this point), I ended up holding the vertical boards, while the hubs drilled. We did this for all five vertical pieces.

Robin Playroom_3

At this point, I had another appointment with a friend, so the hubs took over solo. By the time I got back a few hours later, he had affixed the top piece (the actual seat) to the vertical pieces and the cleats to the back.

Robin Playroom_5

Great progress for one day!

Robin’s Sawdust Diaries, Next up Part 3. 

Sharing is caring!

  • Share
  • Tweet
  • Pin

More From My Site

Filed Under: Robin C. Tagged With: Bench, Playroom Leave a Comment
Previous article: Playroom Built-ins- Robin 1
Next article: Wallpaper –by trial and error

Comments

  1. Julie says:
    October 18, 2013 at 10:31 am

    Props on letting your kids help, too cute!

    Reply
  2. Fawn Teresi says:
    October 18, 2013 at 10:48 am

    Great Job!

    Reply
  3. Annet says:
    October 18, 2013 at 5:27 pm

    Hmm, is the bottom half of Part 1 missing? It seems to jump straight from “before” shots to half-way through without any designs? Want to read more!!

    Reply
    • Sandra Powell says:
      October 19, 2013 at 12:50 am

      Well yes, yes it was missing. LOL Thanks!

I love your comments! Thank you! Cancel reply

Categories

Legal Stuff

Terms of Use

Privacy Policy

Disclosure

Subscribe to our Newsletter

mailpoet webform


Select list(s):

Disclaimer: Although it is my intention to provide accurate plans and clear instructions, not all plans have been tried and tested. Using plans or information found on SawdustGirl.com indicates that you agree with the Terms of Use policy and will accept full responsibility for the process and outcome of any project you attempt. All plans are for private use only. Plans and information published on SawdustGirl.com may not be reproduced, republished or distributed in any manner without written permission from Sandra Powell, Sawdust Girl. Actual projects built using Sawdust Girl plans may be published on your own site without instructions or "tutorial" as long as you provide a link to my original post with full post title or "SawdustGirl.com" as link title.


Copyright © 2011- 2019 · Sawdust Girl · Login

Return to top of page

0shares