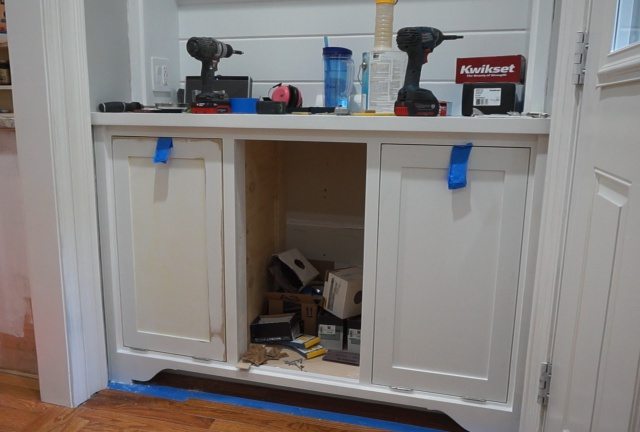
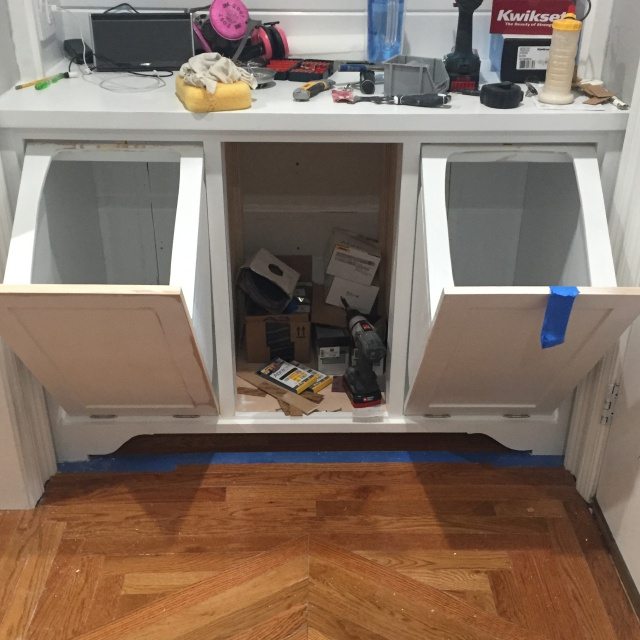
I decided to build a tilt-out storage cabinet for the two outside sections of my hutch base. I want an easy way to access the dog food and recycling bins. Pull out storage cabinets would have been easier to build but not as easy to open…and I don’t want anyone setting recycling containers ON the countertop instead of IN the bin so I need to make opening the bin as easy as possible.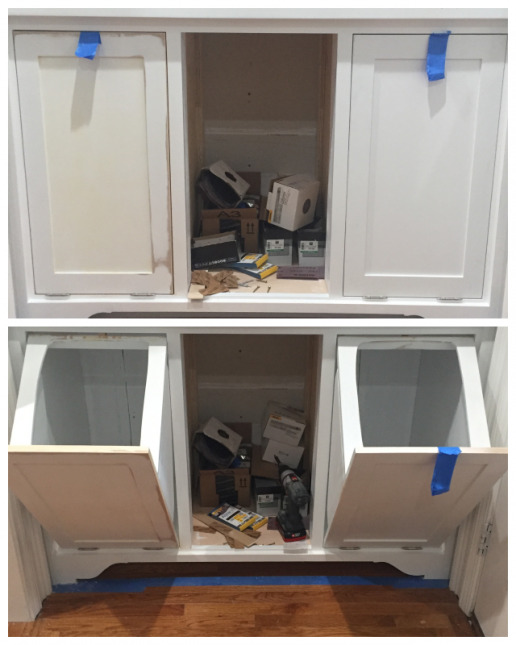
The difficulty with a tilt-out storage cabinet is that you have to make sure: the door can open, the bin inside clears the opening, you can open the door far enough to take the bin out to empty it, and also that the door doesn’t fall completely open every time you open it. I didn’t draw up plans — I just dove in with the idea that I would figure it out as I went. Here’s what I did…
The Doors
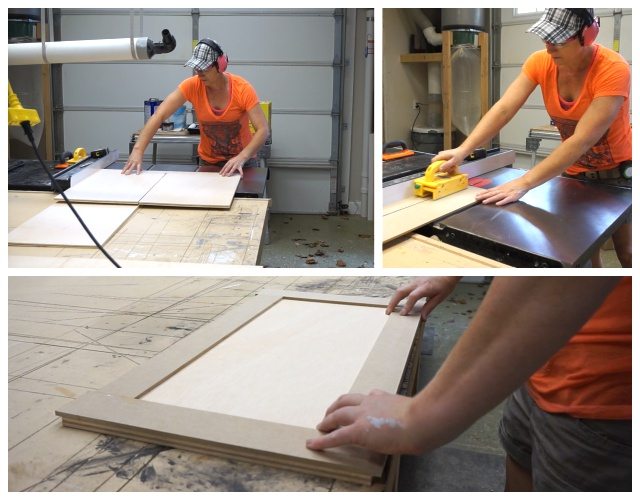
I made my doors out of 1/2″ plywood with strips of 1/4″ mdf glued around the outer edge. I wanted a solid panel door so I could screw my tilt-out storage cabinet holder thingy to it.
With a rail and stile door I might end up needing to secure my tilt-out contraption where it would only hit the thin inside panel — which would not work at all. So I needed a solid panel door but I wanted look of all the other rail and stile, shaker style doors in my house.
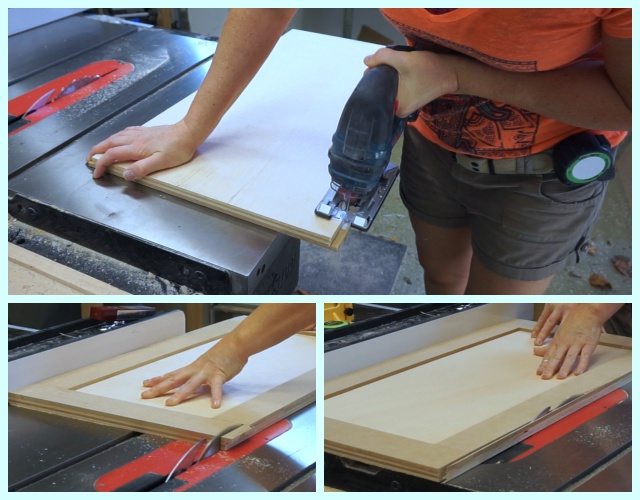
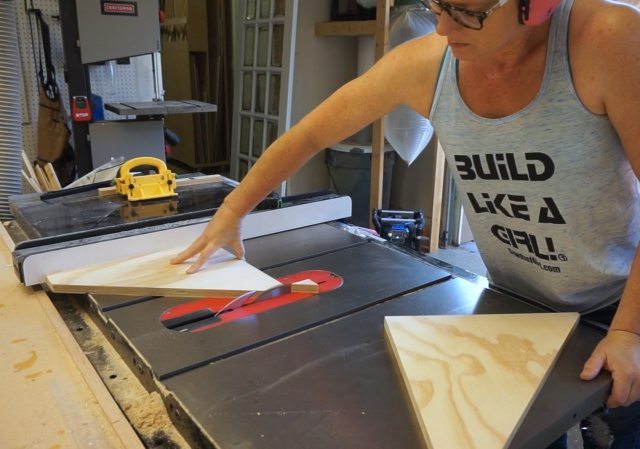
I slightly oversized the doors so I could clean up the outer edges after I glued on the MDF. I didn’t want to try glueing the MDF perfectly flush with the plywood edge. I slapped it on, making sure my joints were tight. Then I cut off the outer edges and cleaned it up on my table saw.
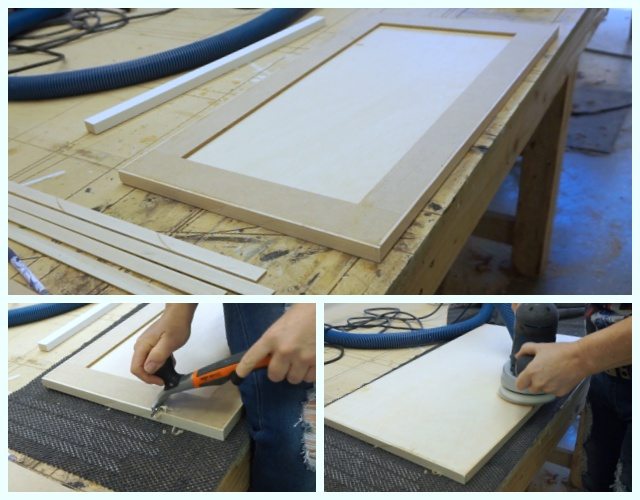
I added thin strips of wood to cover the plywood/mdf sandwich. This has to be sanded and filled perfectly to hide any trace of the construction method I used here. 😉
Once the doors were made, I made sure they fit in the cabinets. Then I moved on to the tilt-out storage cabinet thingy’s.
Building a Tilt-out Storage Cabinet
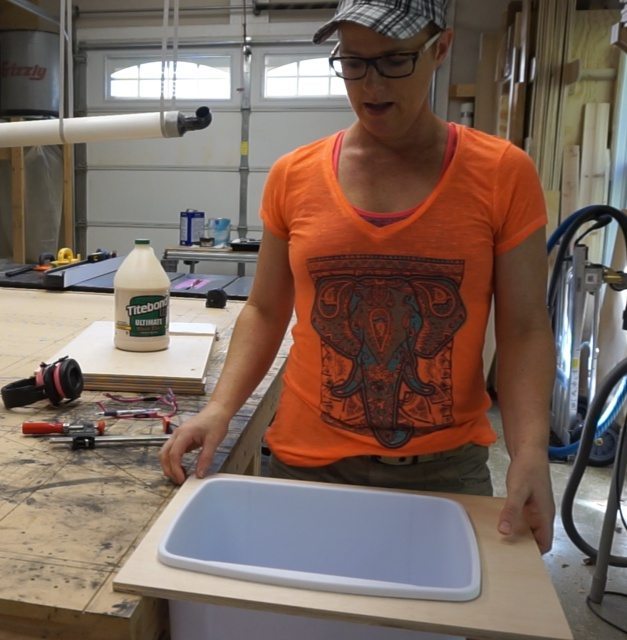
I purchased a bin (garbage can) that would easily fit in the compartment where I wanted to build my tilt-out storage cabinet.
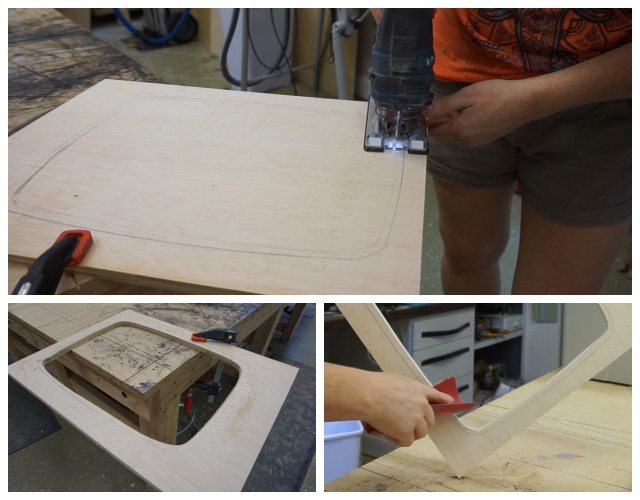
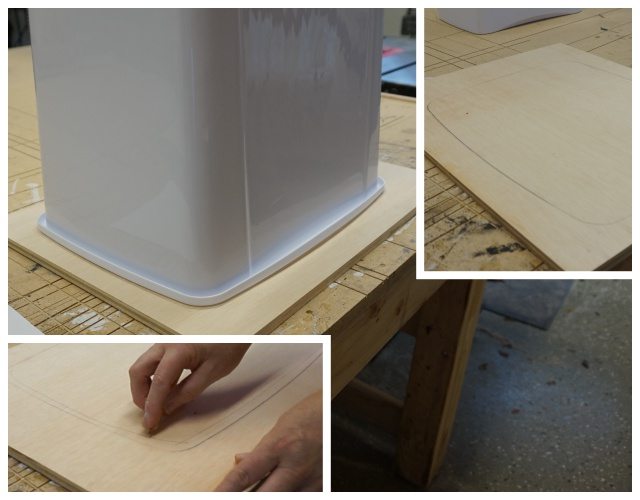
- I found some scrap 1/2″ plywood, placed the bin upside down on that plywood and traced around the edge of the bin.
- Then I freehanded another line about 1/2″ INside the traced line. My bin has a lip that will sit on top of whatever contraption I build.
- I drilled a hole inside my inner outline to give my jigsaw blade a place to start.
- Cut along the outline. (the inner outline)
- Sand the edges smooth.
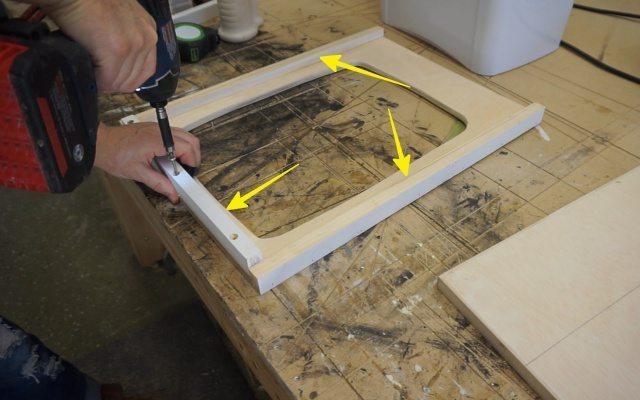
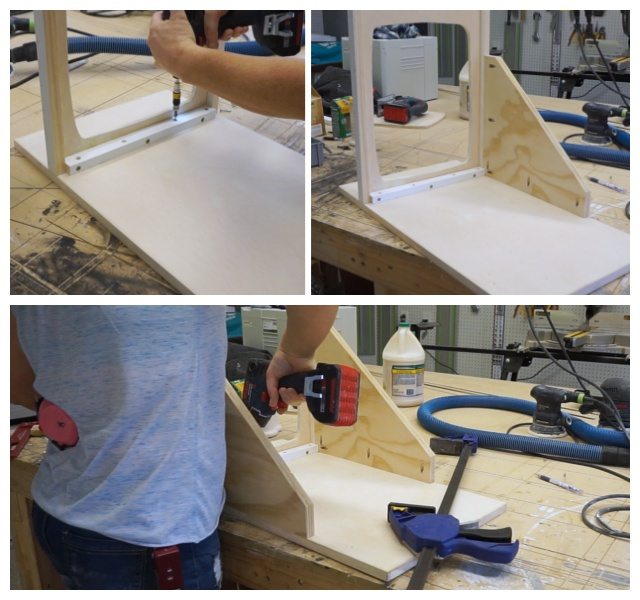
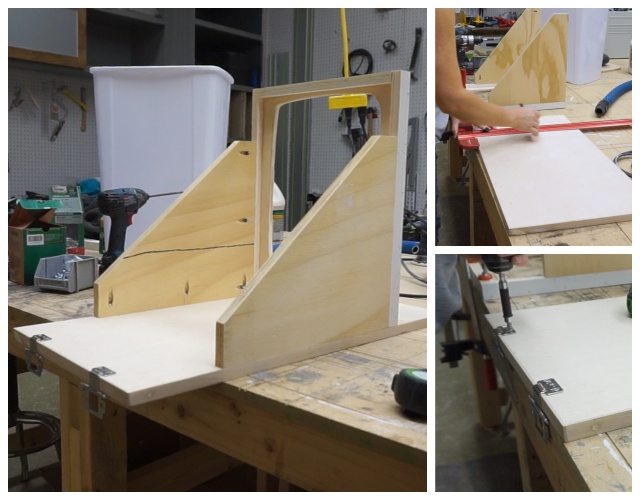
Next I attached 1″ supports on the outside edges and a 1 1/2″ support along the front edge. The front support is taller because I’ll be screwing through that into my door.
I put my bin in this contraption and held it up to the door to figure out how high on the door I needed to secure it. I figure things out visually.
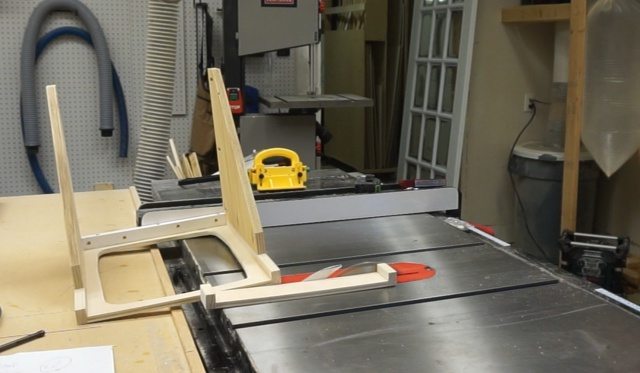
I wanted some angled supports and happen to have a ton of angled scrap wood, cut-offs from the angled cabinets I built in my studio. I cut off the ends so they didn’t appear sharp. Again, just a visual decision.
I secured my bin holder in the proper location (that I figured out unscientifically before) and attached the angled supports to both the door and the bin holder with pocked screws.
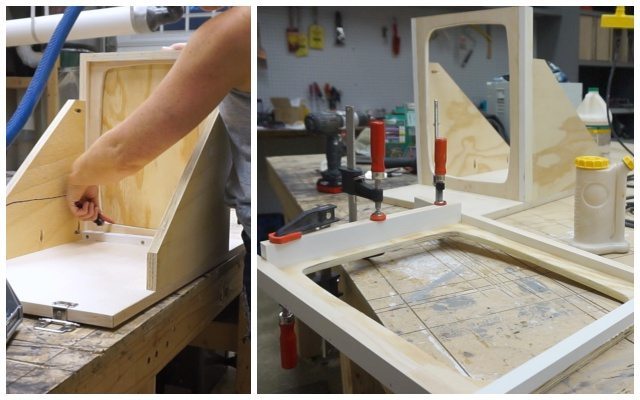
This whole project was an experiment so I took it all apart and put it together again quite a few times. I did a dry fit in the cabinet and realized that my bin holder was too long so I trimmed it down leaving only 3/4″ of plywood on the back edge.
I used another 1″ strip of 3/4″ wood to support the back edge since it was so thin now.
I re-secured the bin holder to the door and added my hinges. I wanted not to have visible hinges but decided that avoiding that visual detail wasn’t worth the extra time it would take to drill holes for cup hinges and then mess around with adjustments necessary to get the inset doors perfect. The hinges I’m using are cut and dry: screw them onto the door, screw them onto the cabinet. Boom. Done.
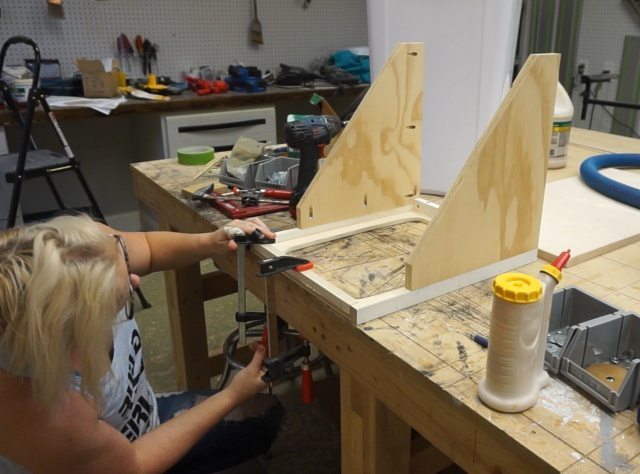
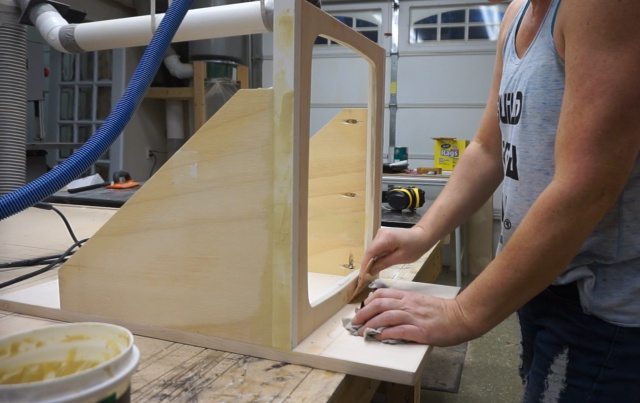
Before I get too ahead of myself I trace the opening on the first bin holder so I can make the second one without having to repeat step 1 – and then I get my second tilt-out storage cabinet bin holder gluing up.
I used sanded plywood (which is pretty rough on one side) so I had to sand and putty quite a bit to make it look nice.
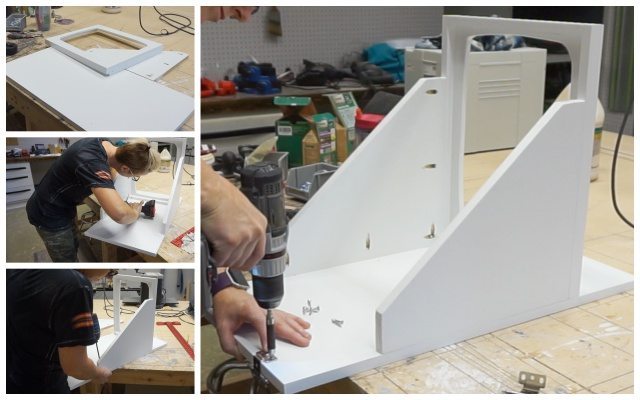
Then I took it all apart again because I decided it would be a lot easier to paint the individual parts instead of dealing with all the corners on the assembled piece.
- Prime
- Paint
- Reassemble
Installing the Tilt-out Storage Cabinet
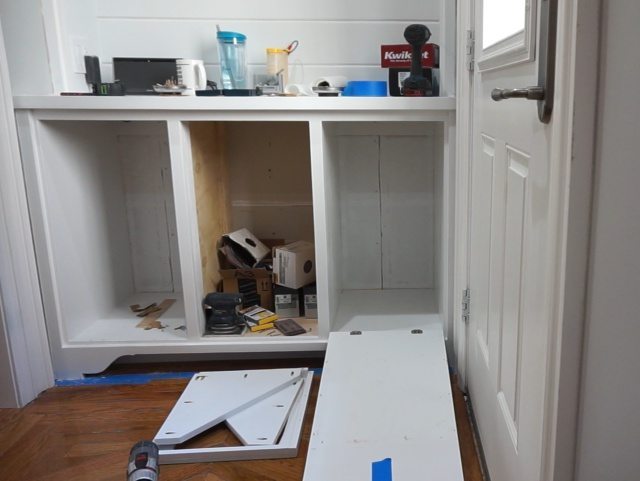
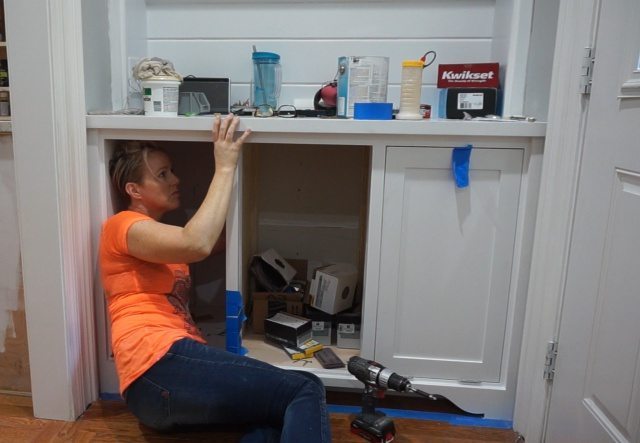
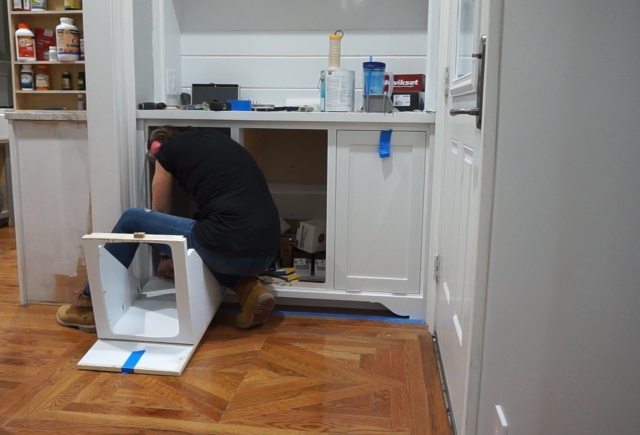
It was pretty difficult to reach the hinges inside the cabinet with my door/bin holder contraption all assembled so I disassembled it once again. Then I secured the hinges to the cabinet. Door works perfectly with nothing attached to it.
So of course I had to reattached the stuff to it.
Again.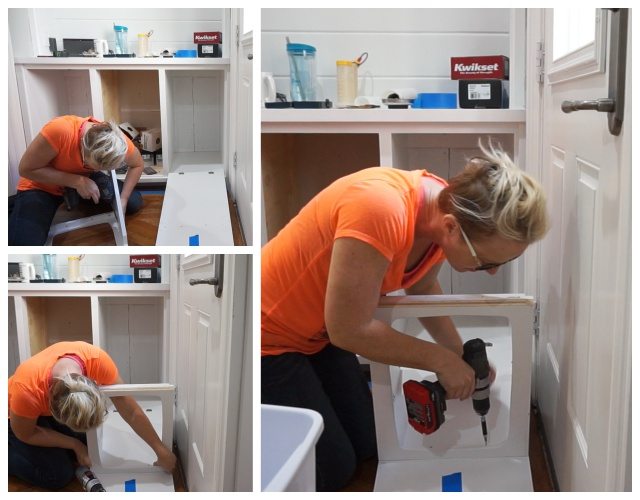
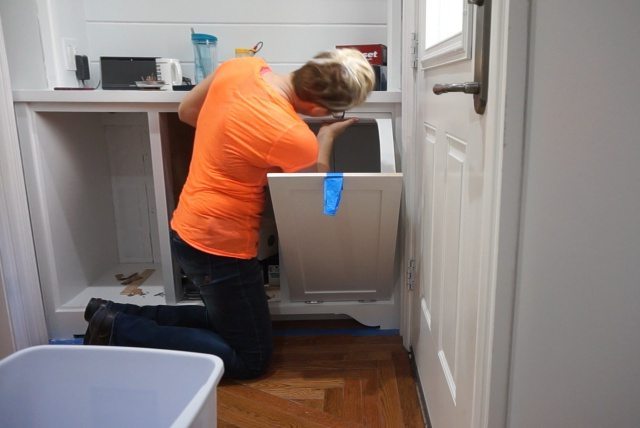
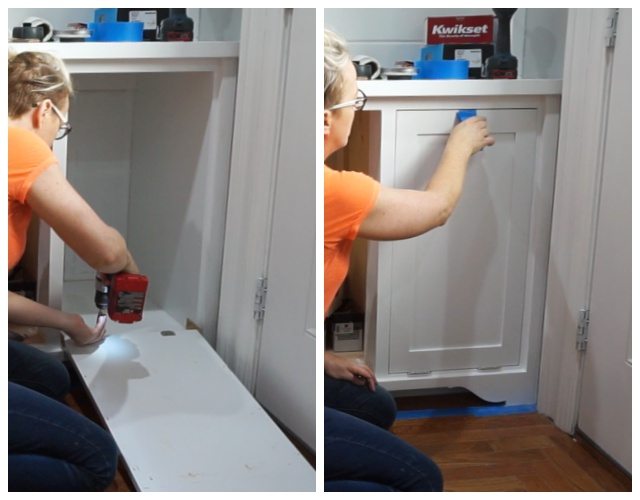
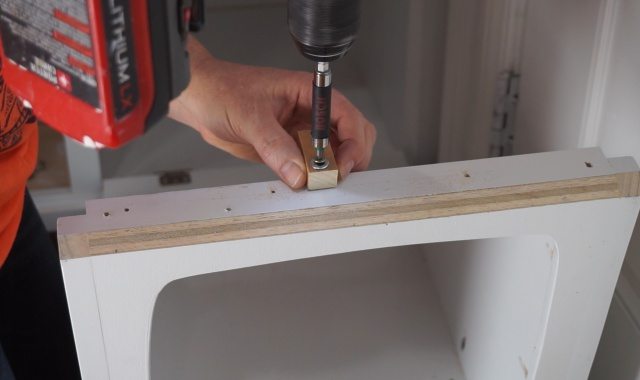
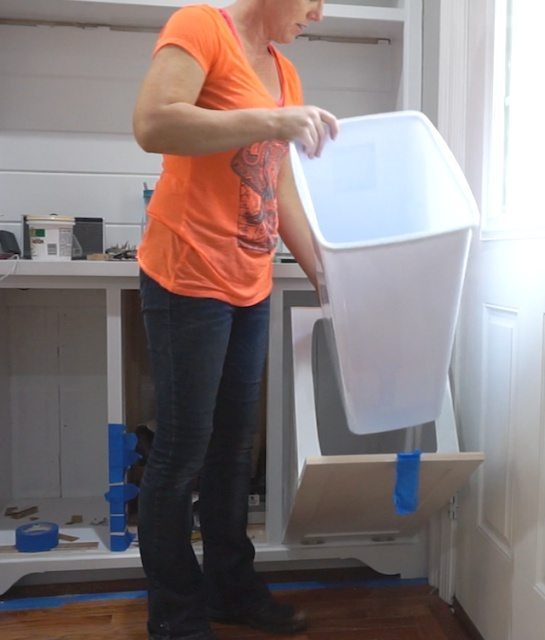
After moving the bin holder down on the door it clears the cabinet easily but now the whole thing will fall completely open (down to the floor) if you don’t hold onto it when you open it. So I attach a block of hardwood. I sandwich it between washers so it can swivel around. It has to face down when you close the door so it doesn’t hit the cabinet.
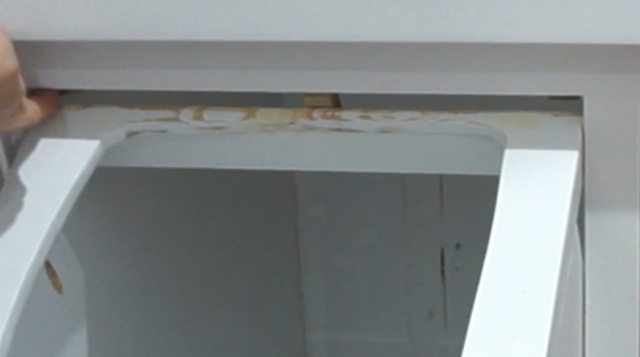
Then you reach inside and turn it up and it keeps hits the inside of the faceframe and stops the door from falling open. Placement of this block again, required a lot of fiddle factor.
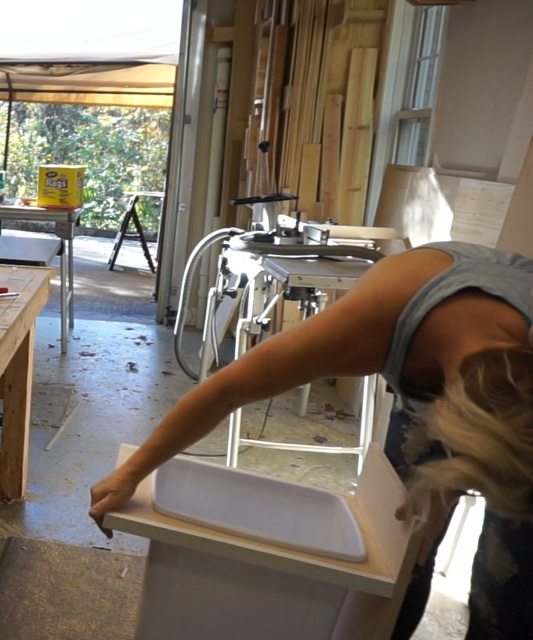
After all that, I a bin in my first tilt-out storage cabinet and it all works perfectly!
SOO then I start on the second one. The trial and error part being DONE, this one should be a piece of cake!
I install the stop blocks first since it’s WAY easier to do when the door and bin holder is not in the way.
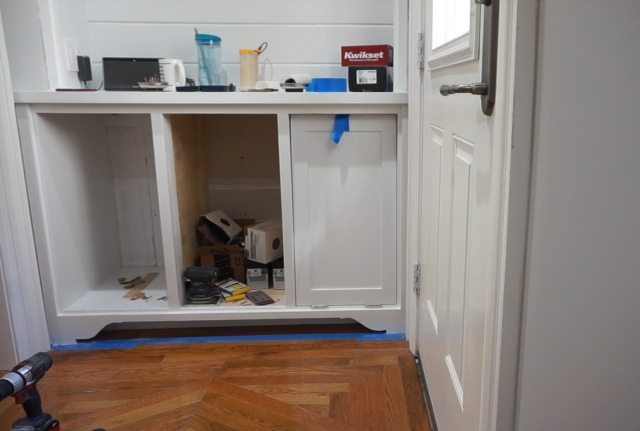
I attach the second door and bin holder. Boom! Done?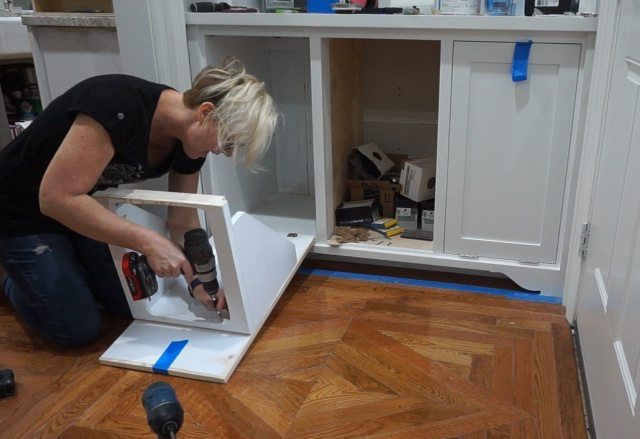
Boom – done for real this time!
It doesn’t look possible but I can get the bin in and out of there — which is good because the only way to move the stop block is by reaching into the hole when the bin isn’t in there. So if I had to move the block to get the bin out but the bin was in so I couldn’t reach in to move the block…I’d be in trouble.
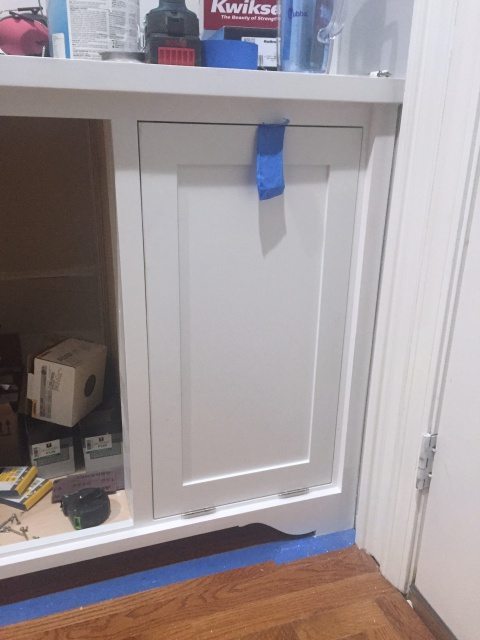
By the way, tape makes great temporary door pulls when you’re doing inset doors. It’s a really good idea to get that on there right away because after you close the door is not a great time to realize you don’t have a good way to open it again. 🙂
 One Day Kitchen Entry Makeover continues with Day 10.
Or start over at Day 1


Sandra says
I used on mortise, full inset, full wrap cabinet hinges for 3/4″ doors.
Monica says
Looks very nice I was wondering what type of hinges you used.
Nancy says
Wow!! That was a lot of trial and error/problem solving. Great job!! But…give me a rollout bin any day. I just find that with the tilt out, the bin gets full and then spills its contents as you try to remove it to empty it. Just my own personal preference. For my kitchen trash can, my handyman built a small box that my rectangular trash can would fit in, installed full extension rollout slides, removed the hinges from the 15″ wide cabinet door and attached the box to the door. Works like a charm…my trash can is hidden and I can just pull it out to throw something away and when needed, lift out my trash can to empty it.
Vickie H. says
SWEET!!!!
juju bains says
this is a fantastic post. i like all the pictures. i am a 76 year old living in southern california.
have been following you for a couple of years. i marvel at everything you do. of course, i wouldn’t write that if you were a man!