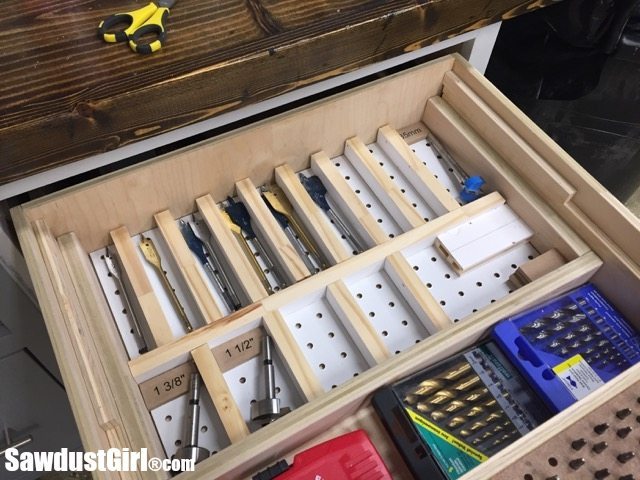
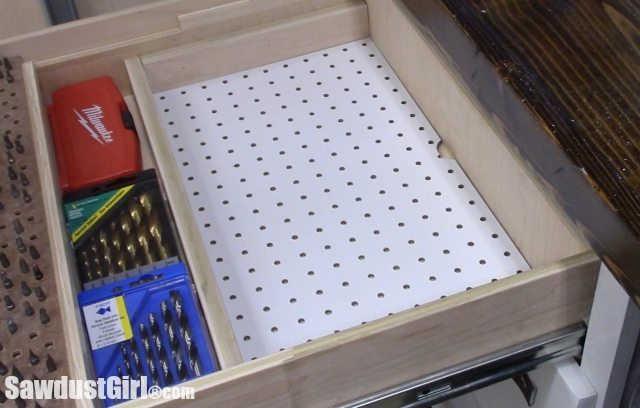
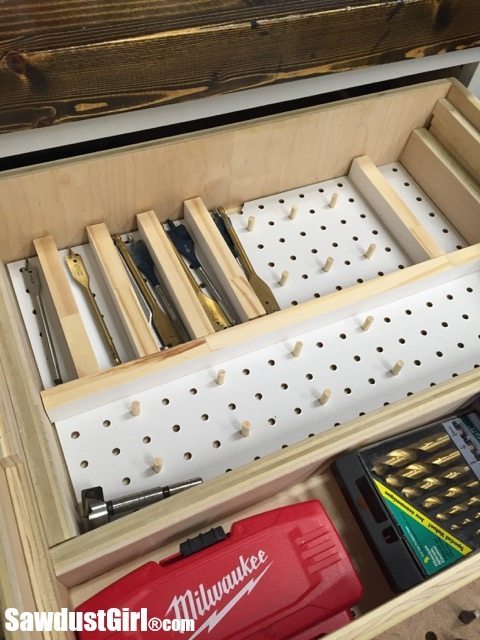
 I have another DIY drawer organizer project to share. I made this adjustable pegboard insert for my workshop drawer but it could be used anywhere for anything. It’s pretty simple to create and it all came about when I was looking at four 8′ long pieces of pine with 1/4″ grooves that became sCrap wood when they didn’t work for my original purpose (sliding cabinet doors). I was staring down that 8′ 1/4″ groove when it hit me! I had some 1/4″ dowels that I’d purchased because they fit into the 1/4″ holes in pegboard and this 1/4″ groove would fit right over the dowels making this scrap wood the perfect adjustable drawer organizer dividers!
How to make a diy drawer organizer
Supplies:
- Pegboard with 1/4″ holes
- 1/4″ diameter wood dowels
- 3/4″ wood for dividers (Any kind of plywood or wood. Great way to use up scrap wood.)
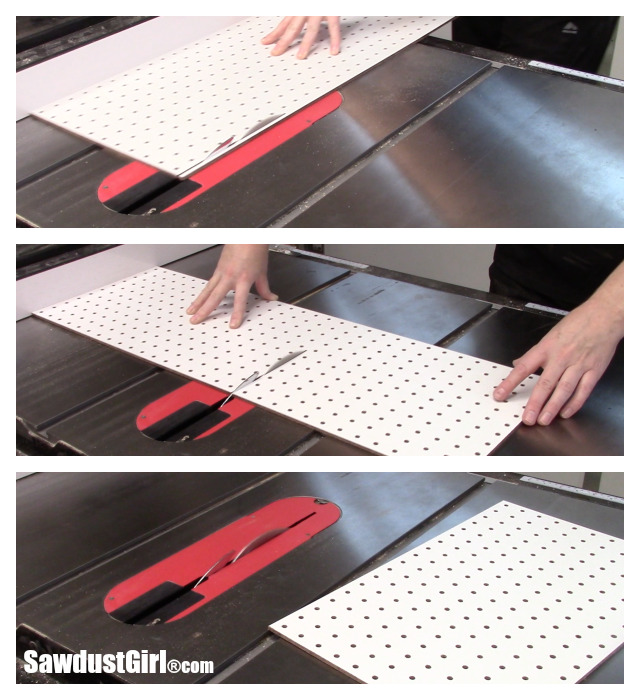
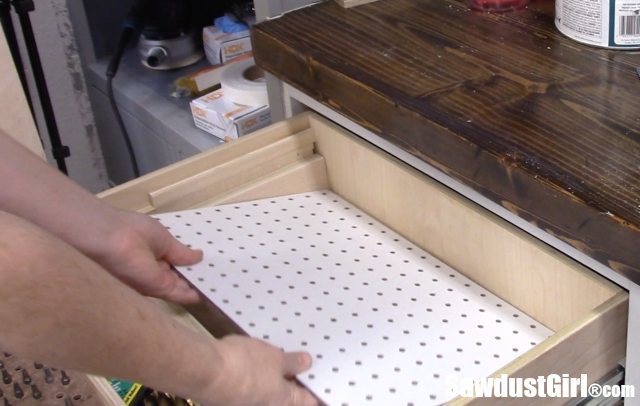
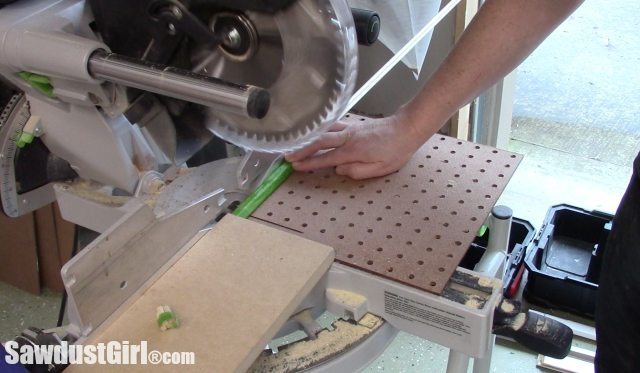
First, simply cut a piece of pegboard to fit the bottom of the drawer you are wanting to use. Test the fit but don’t drop it into the drawer yet or you’ll have a difficult time getting it back out.
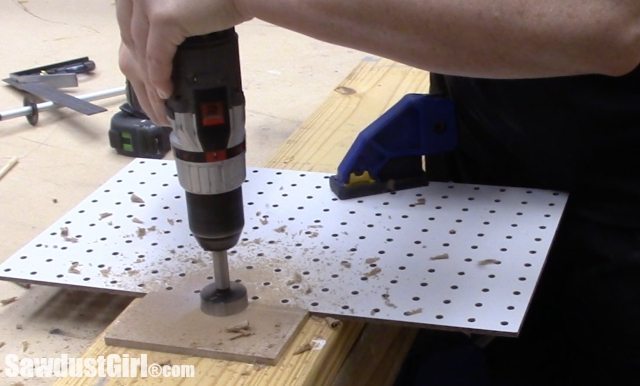
After making sure it fits correctly, drill a hole on one side. A Forstner bit is a great choice for this task and you don’t have to drill an full circle, a semicircle will do just fine. I placed a piece of scrap 1/4″ mdf next to my pegboard to keep the bit level and centered my Forstner bit in between the two boards so only half the circle cut was made on the pegboard.
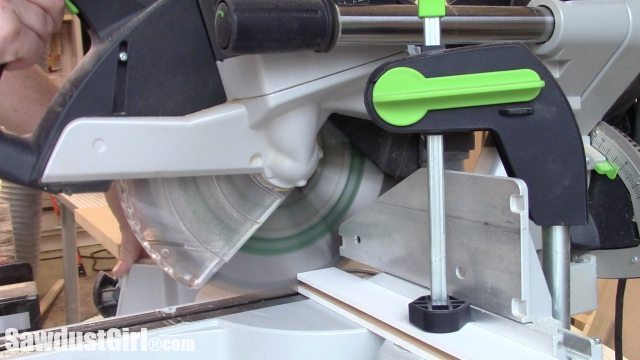
Next you’ll need to cut a 1/4″ groove in your divider wood. I used a dado stack on my table saw but you could make several passes with a regular blade to get to 1/4″ width. Alternately, you could use a router table to cut this groove. I cut my groove about 1/2 deep.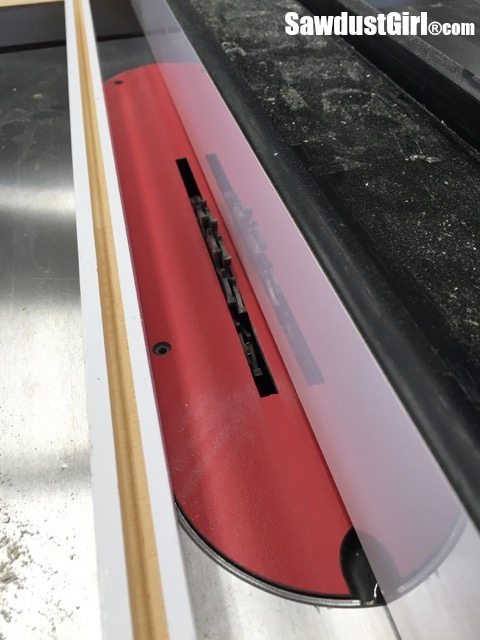
The dowels need to be long enough to set into the pegboard and stick up into the groove on your dividers but not be too tall that they push the divider up.
Cut your dividers to length to match your needs.
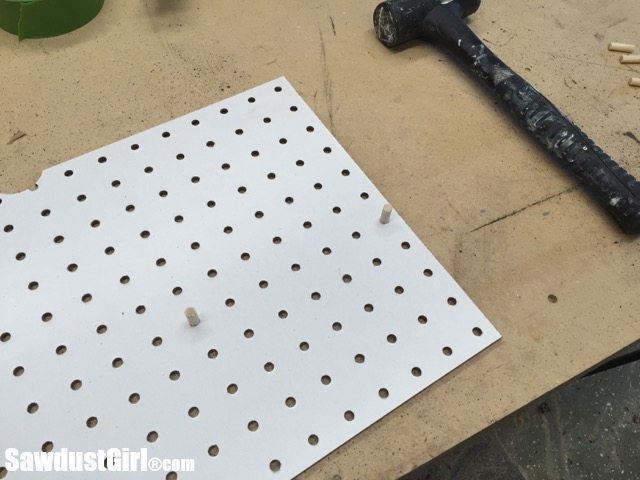
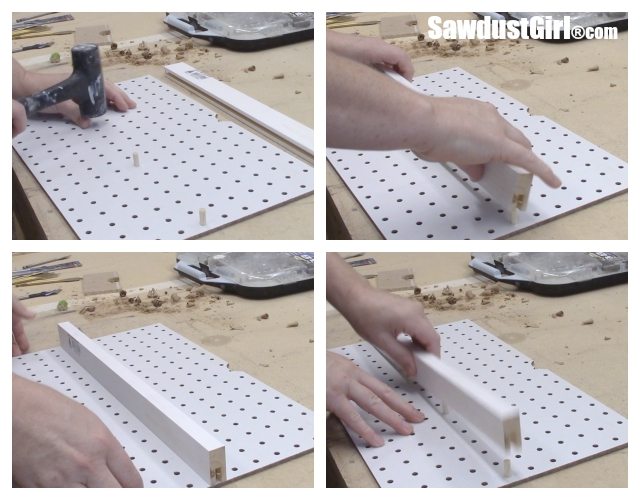
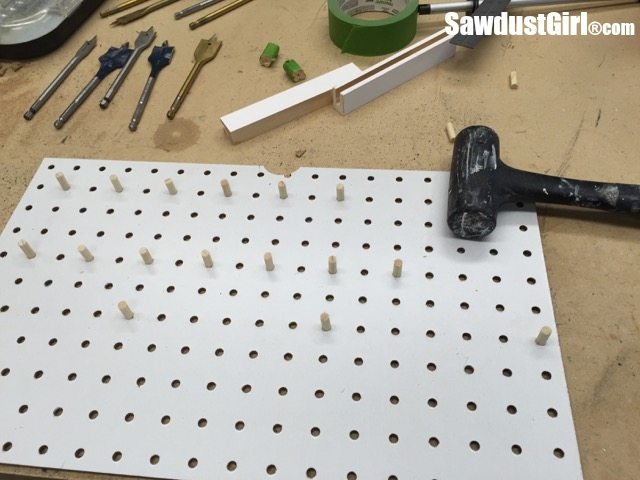
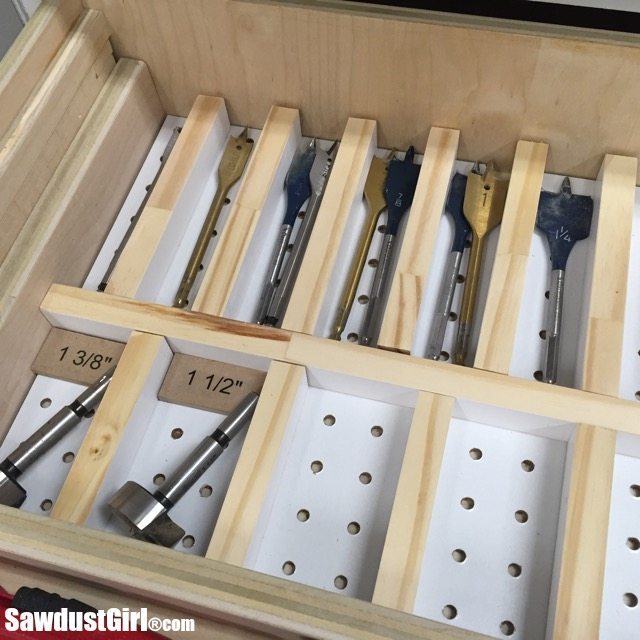
Insert your dowel pieces into the pegboard depending on how you want to divide your drawer. I wanted one long divider to separate my drawer into two halves, one longer half for spade bits and one for Forstner bits.
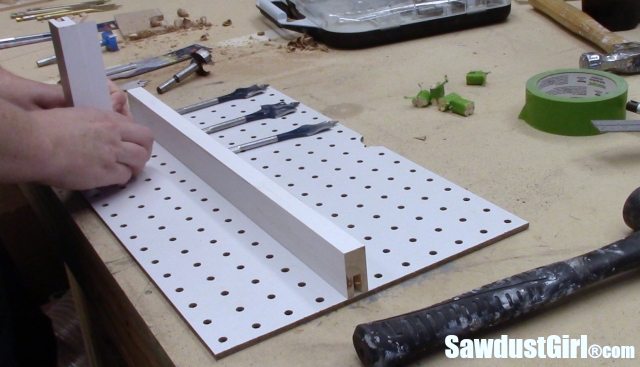
I placed my bits onto the pegboard to determine how far apart to space the other dividers.
Then I inserted all my dowels. I had to use a rubber mallet to push them fully. I need to get my thumbs on a workout schedule. They constantly let me down.
I don’t have that many spade or Forstner bits so I have some space to grow. All the spade bits are labeled very clearly so that section is good to go.
The Forstner bits, on the other hand send you on a scavenger hunt with a magnifying glass so I labeled pieces of 1/4″ mdf to insert into the space with each Forstner bit. I opted not to write in Sharpie directly on the pegboard for two reasons: 1. my handwriting is messy and 2. permanent marker would make this organizer less adjustable. With labels I can just drop into the space with each bit I can move things around as needed.


Dan Johnson says
Awesome! I want. LOL Planning on making this.
What is the drawer height?
Sandra says
My drawers are around 4″ deep.
Nikki Stretch says
Ooooh… the joy of organised drawers! I just love this idea. 🙂
TucsonPatty says
As usual, awesome and useful!
SheilaG @ Plum Doodles says
That is genius! And best part, I think even I could do that. 🙂