You guys, I finally have an HVAC system in my workshop!!! Remember last summer when it was about 100 degrees for like 4 months straight? My workshop was so miserable that I had to just close it up and go work in my house. You can imagine how pleased I am to have air conditioning this year — and just in time for HOT weather! I’m so happy to announce Trane as a Platinum Sponsor for the Build & Breakfast® renovation.
New HVAC System Installation
The front two bays of the building are what I’m setting up as my personal workshop space. A couple of the back rooms in the building had old HVAC systems, but MY space didn’t have anything, so I needed the whole shebang. Trane sent me the top-of-the-line, most energy efficient equipment for which I’m really excited. After all, this is a BIG space and my electric bill needs to not get out of control. I used Trane’s website to find Melton Heating and Air, a local Trane Comfort Specialist to do the installation.
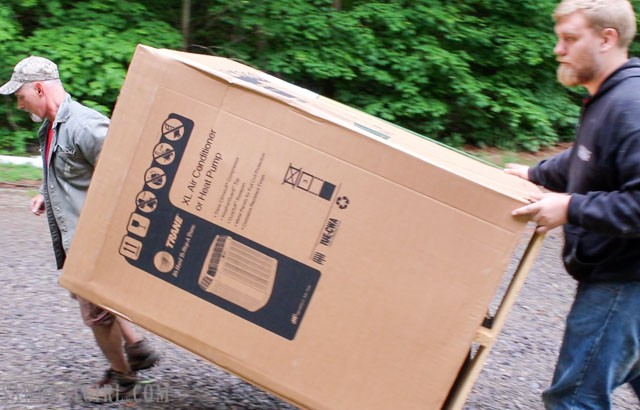
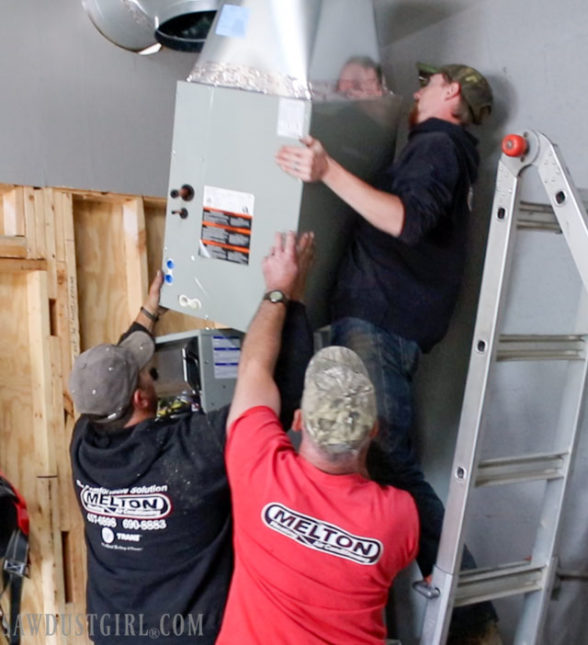
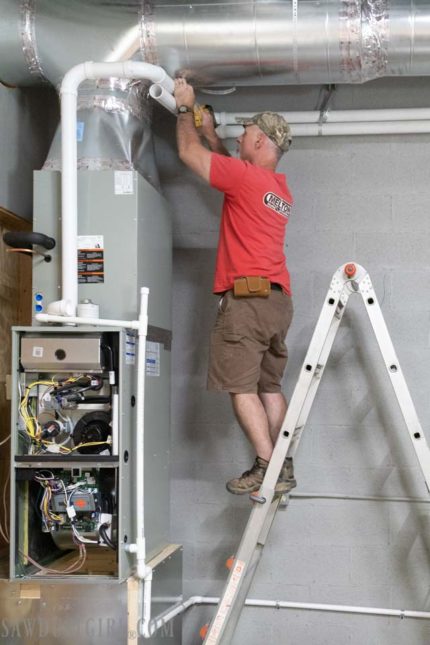
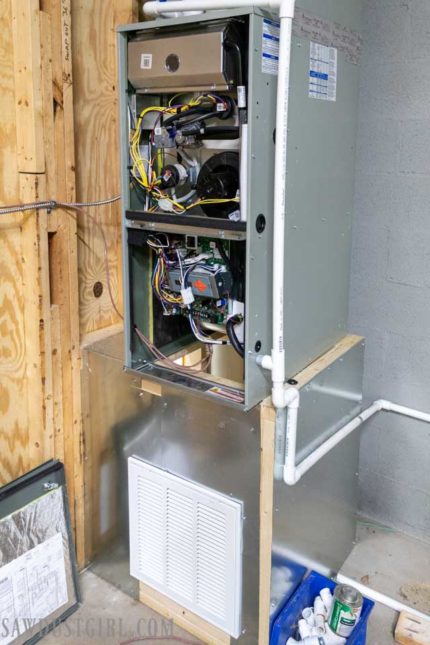
The inside unit is made up of a XC95m Furnace and an evaporator coil.
The XC 95m is Trane’s most energy efficient furnace. It has a variable-speed blower motor which adjusts speeds to provide a consistent flow of warm, comfortable air with quiet operation.
The indoor evaporator coil is designed to work together, with the outdoor condensing unit to provide optimal comfort, efficiency and humidity control.
Mechanical Stuff
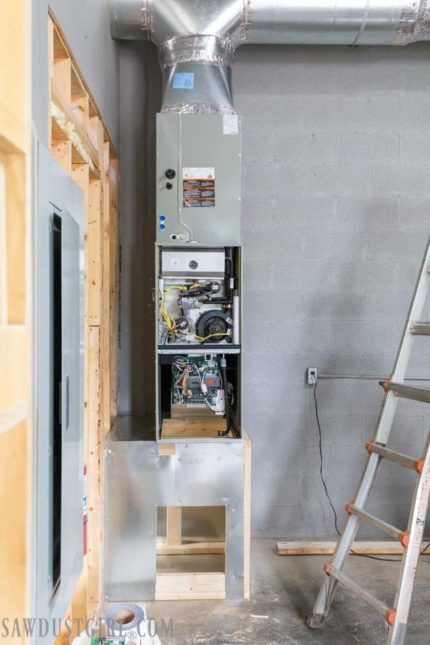
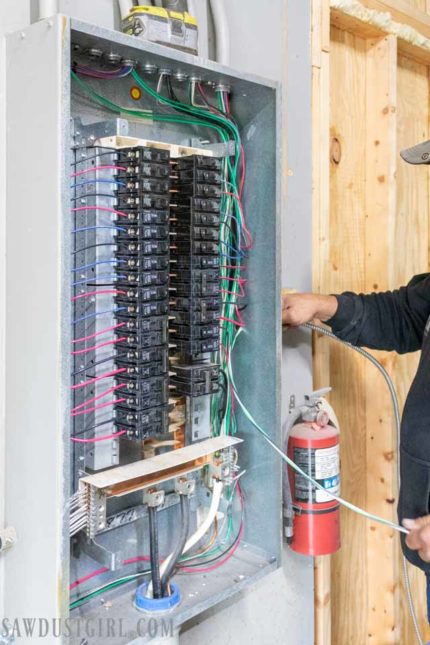
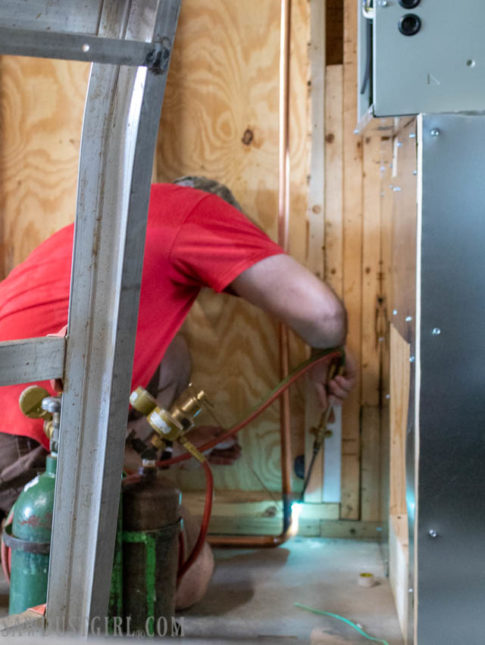
There was a good deal of electrical work and various piping that had to happen. There are now all kinds of pipes running to and from my indoor system. There is an intake, an exhaust, a gas supply, and an electrical supply. It’s amazing how much engineering goes into setting up an HVAC system. Which is why I said, “absolutely not” to Julie when she suggested that HVAC was something we could “DIY”. Actually, I don’t think I said, “absolutely not” but that was the meaning behind my sarcastic with an eye roll, “HA”!
Air Returns
The guys had to build a “return” box for all this to sit on and I couldn’t resist crawling inside to test out the stability. –>It’s sturdy.
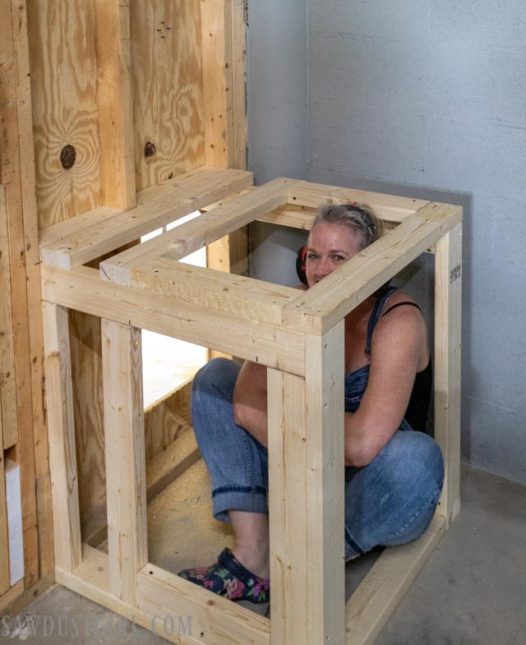
There are two air returns: one on each side of the wall that separates the two bays. The one return is on the front of the box they built. The air return holds a filter which I’ll need to check frequently since I make quite a bit of sawdust in these rooms.
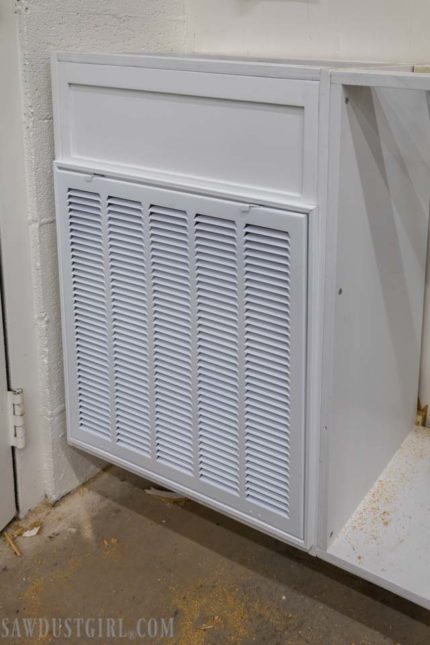
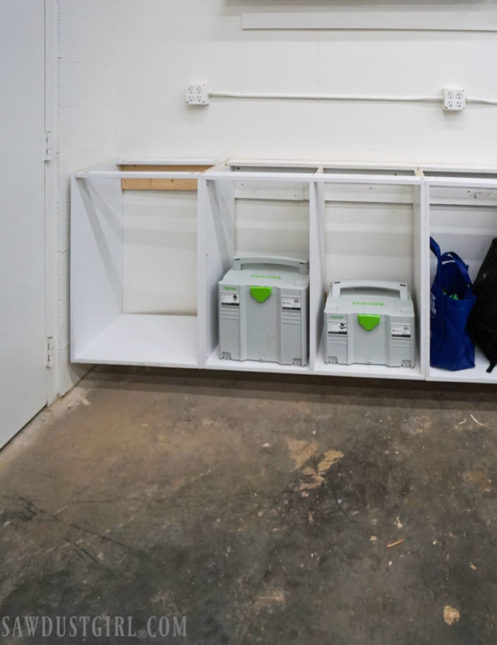
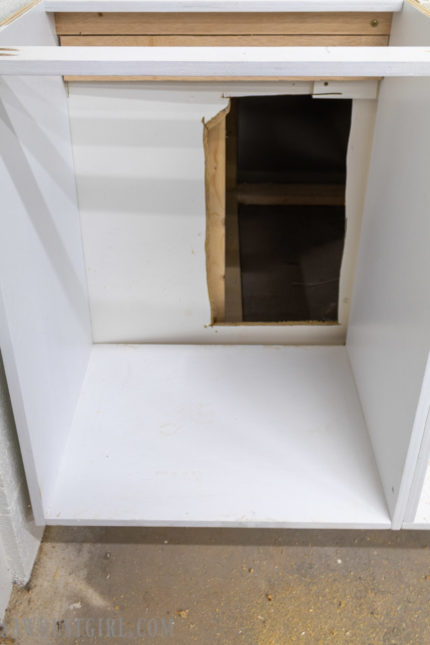
The other return was cut through the wall and put inside a cabinet I had already build and installed. (I scribed a couple scraps of 1/4″ hardboard and used caulk to glue those in place to seal the gap between the wall and back of cabinet.)
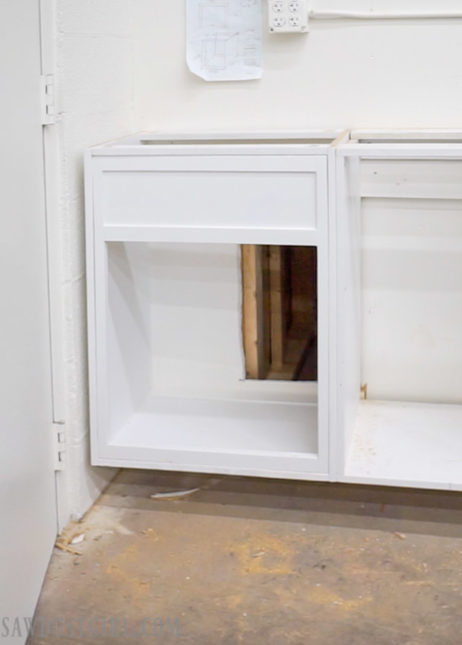
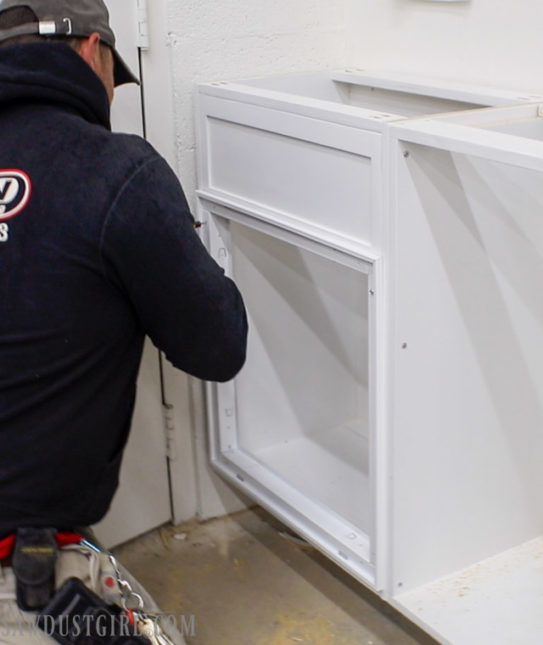
Then I built a false front for the cabinet to hold the grille and filter. I made it all fancy ’cause wanted it to look like there was a drawer above the grille. However, I didn’t actually have the grille in hand while I made this front. I only knew the size of the needed opening.
When the grill was installed, I was disappointed to see that it covers most of the bottom of my fake drawer. So it doesn’t actually look like a fake drawer. It only bothers me when I look at this picture, and it’s really not a big deal. …just move on Sandra…
Air Conditioner
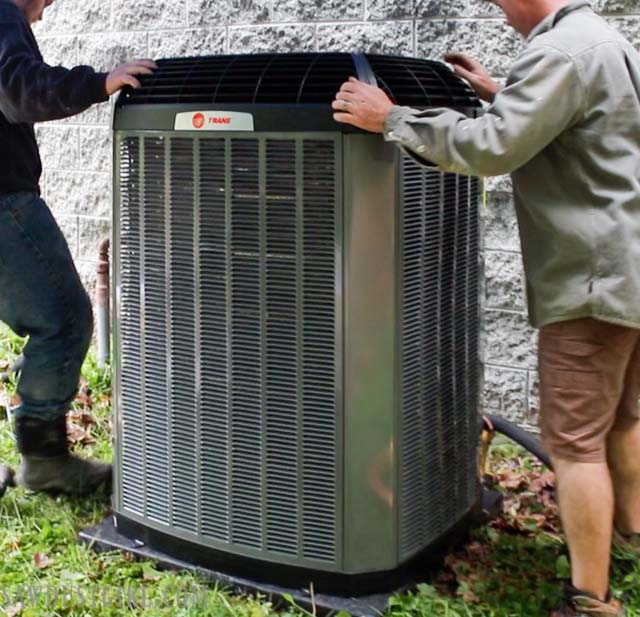
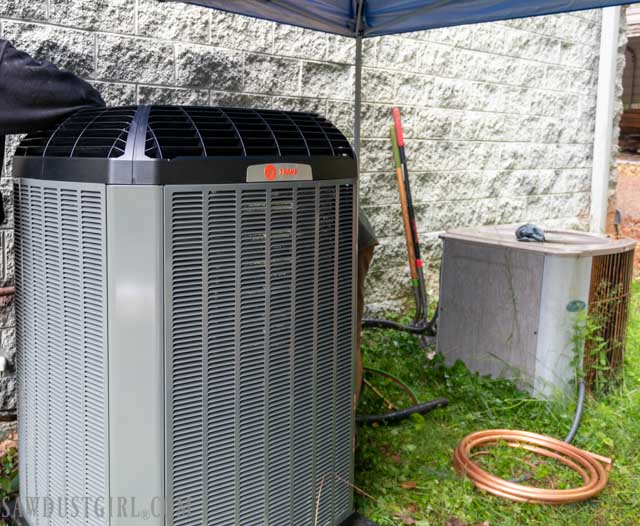
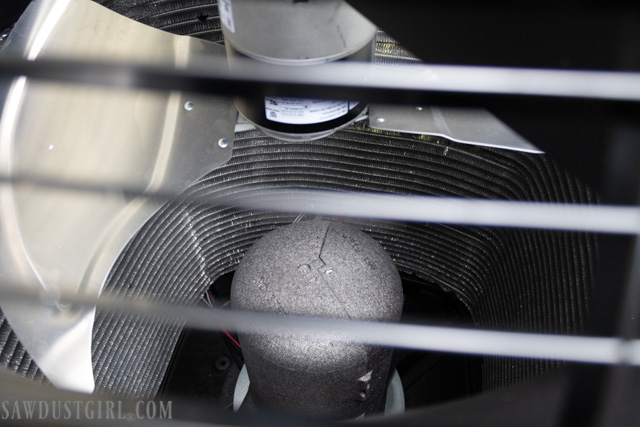
The XV201 Condenser (Air Conditioner) was installed outside. This is the new Trane air conditioner sitting next to one of the old, back room air conditioners. Aside from the size, a notable difference is the WeatherGuard™ Top. This reduces the accumulation of leaves, debris, rain, and snow from entering the unit.
Trane’s TruComfort™ technology automatically adjusts temperature while maintaining speeds to avoid temperature swings.
The XV201 is rated up to 22 SEER and has 750 stages of comfort for ultimate climate control and maximum efficiency.
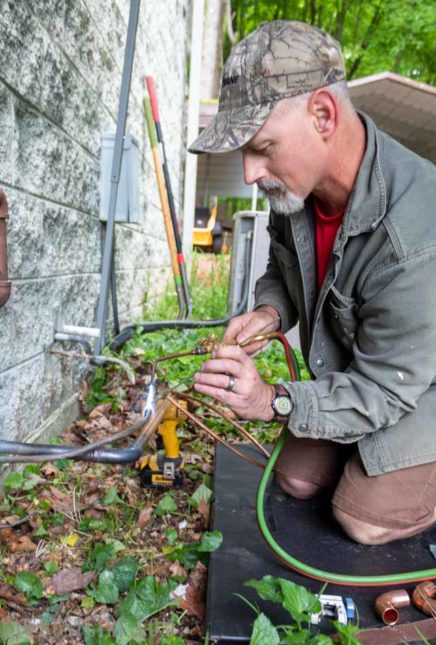
And when it’s running, it’s pretty darn quiet! (Not that it matters ’cause I’m IN my shop when it’s running…but still. It’s so cool!)
Installing Ductwork
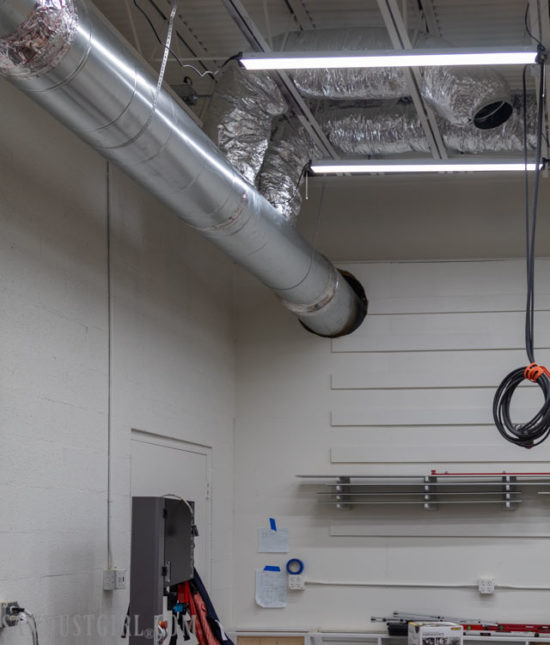
The new ductwork started with a main trunkline that connects right to the unit and runs along the back wall.
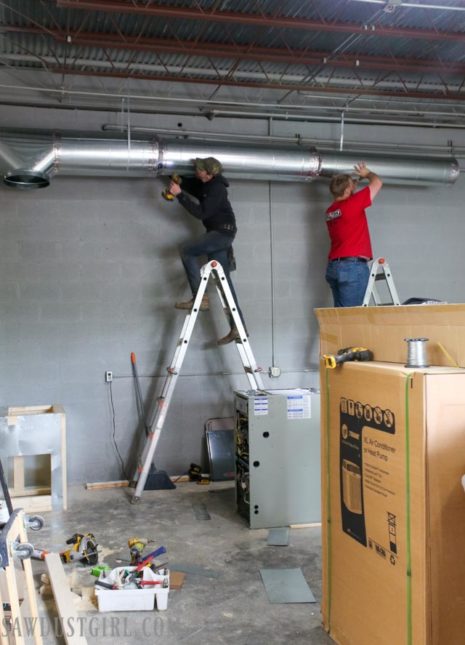
They had to cut a big hole in the wall for the trunk line to pass through. I’m going to be removing those French cleats anyway (because I changed my mind about location…are you surprised?). The main trunk starts large and then steps down in size as it gets farther away from the unit. The initial size depends on the system and the space it is conditioning. (Again, so much engineering goes into getting optimal air flow and conditioning.)
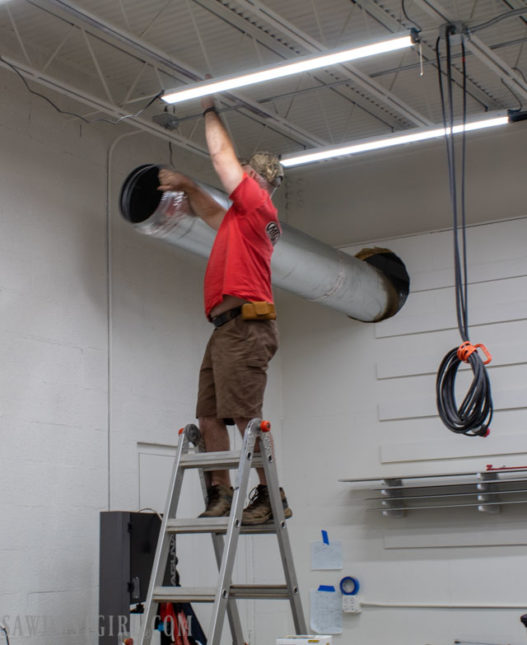
Flexible ducts were then used to bring air to the vent locations. I would have loved to have rigid ductwork, but I just couldn’t justify the added expense for a workshop space. However, I am planning to splurge on that for the kitchen/gathering room upstairs.
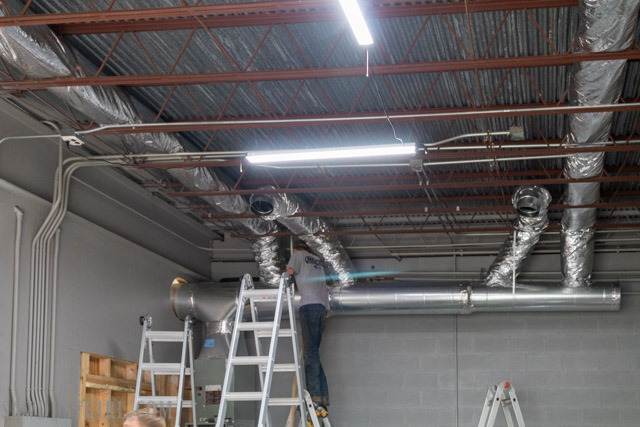
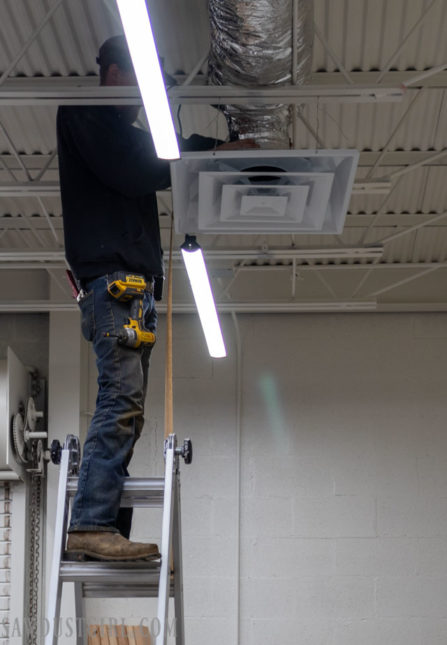
The vents I chose can be used in a 2×2 suspended ceiling grid but we (they) suspended them without a grid. I like how they look and also because the 4 way diffuser directs air in all around my space.
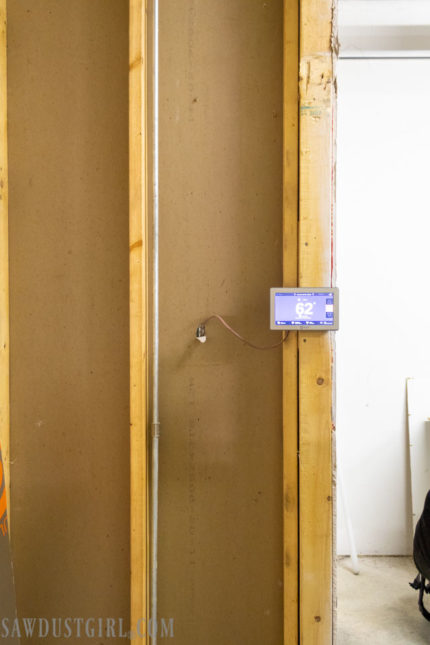
ComfortLink™ II communicating technology connects all the key components so the system automatically configures and calibrates for optimal performance and efficiency!
As soon as I have internet and wifi out here, I’ll be able to connect and control the thermostat settings with my smart phone. For now, I have to use the ComfortLink thermostat…which is temporarily installed on an exposed stud. Once I’m ready for drywall it’ll be easy to disconnect and then re-install. (Making sure to turn off the power first so I don’t blow a fuse. I did that one time in a past house.) They also left me plenty of extra wire in case I change my mind about location. That has been known to happen.
But hey, it’s 3000 sq ft. It’s difficult to plan every single detail perfectly and precisely. Thankfully, I wasn’t left to my own devices trying to figure out how to provide optimal air conditioning for that space. Trane and Melton did all the heavy lifting in that department. Now I get to enjoy creating in a comfortable environment.
AND can’t wait until I get to open up the B&B so you can enjoy it too!

Karen Zinn says
So did they run duct work inside your cabinet to the vent ? Anyway still looks like it will be easier to replace the filter rather then up against the wall in the corner,
Sandra says
The cabinet is open to the box they build on the other side. It’s just all open and completely sealed (caulked) so it will only pull air in through the filtered returns.
Guerrina Hernandez says
This is exciting news! So glad you’ll be able to work in comfort!
Sandra says
Thanks Guerrina! I’m enjoying it already and am so grateful to have it!
marco says
Hi it was very good new