It’s October and at my house that means Halloween! We are official Halloween nuts inside and out. Today I want to share our grave yard with you. Or should I say I want to show you how we made some awesome DIY Halloween Tombstones.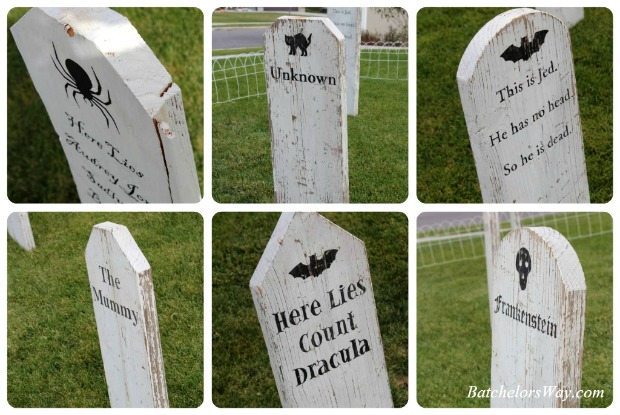
How to Make DIY Halloween Tombstones
These outdoor Halloween decorations are super easy to make and, if you have scrap wood and paint lying around — they’re free. Even if you have to purchase a few supplies, these are really cheap Halloween decorations!
Here is a list of supplies you will need:
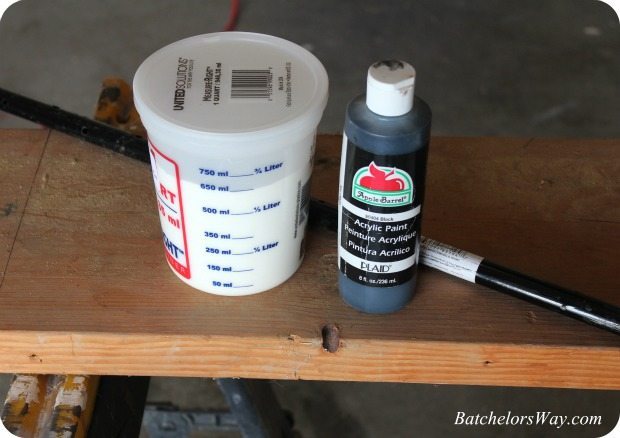
- Wood – I used a left over 2×10, but you could use any scrap as long as it’s wood; good way to use up your wood scrap pile.
- Paint – I uses just some left over white paint.
- Black craft paint.
- Metal stake used for cement forms. I got mine at Lowe’s.
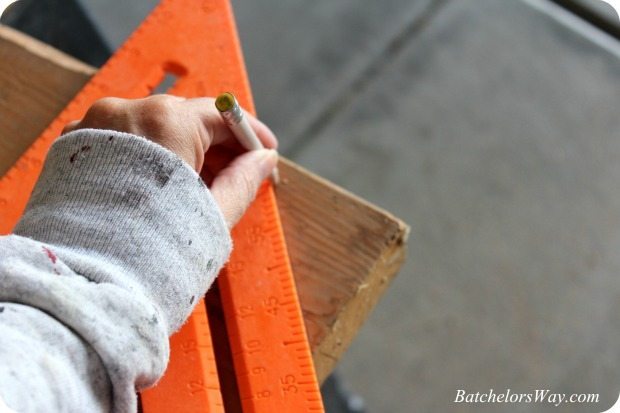
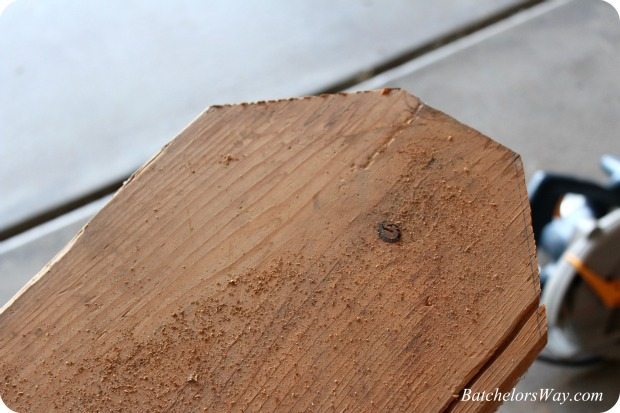
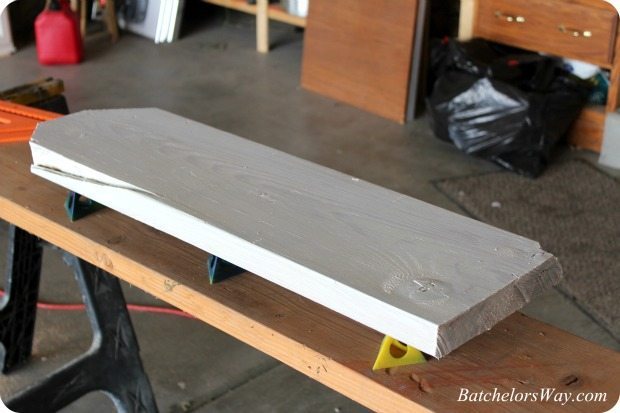
Start by cutting your board to the length you want. Ours range from 2 to 3 feet tall. Then cut the top to the desired shape. I left some flat, rounded some, and others I just cut off the corners. The latter is what is shown in the photo’s.
You may have noticed my wood is cracked and chipping, that to me just makes it better. It will make it look older faster as it weathers. For this same reason I skipped the sanding. For once I want the paint to peel and flake off!!
Paint
Next paint the whole thing. I used white on all of mine because I wanted it to look like a cemetery on the prairie. I didn’t use primer and painted two coats. Don’t worry about doing a super great paint job.
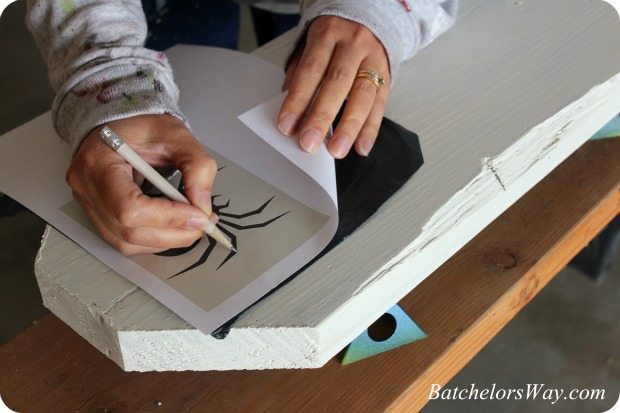
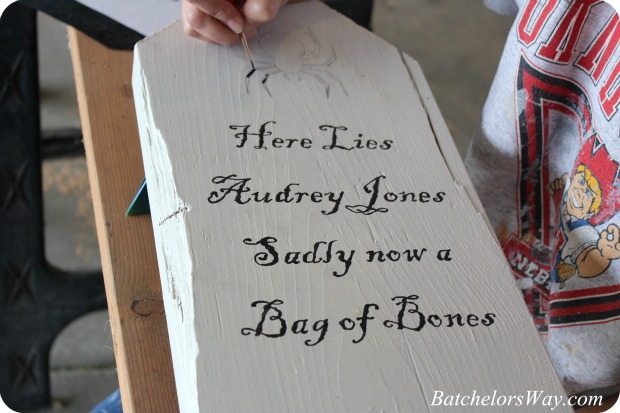
Now comes the fun part. Pick a design and words and transfer it to your tombstone. I just got an image and traced it on to the board using carbon paper. On some of the other tombstones I actually used a cookie cutter and just traced it.
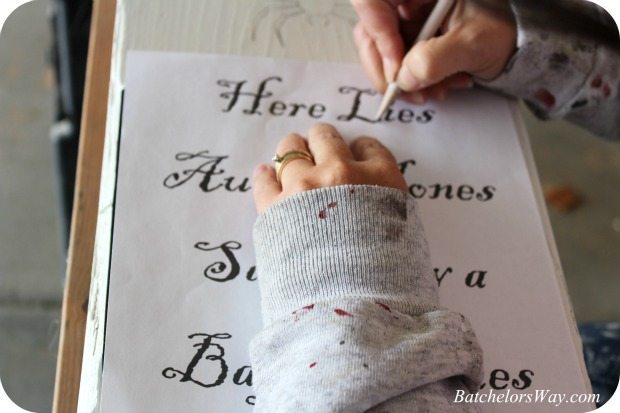
If you want words on your tombstone pick a font on your computer and print off your words. I used the same process to transfer the words to the board. I suggest you keep it simple and use silhouettes. It will be easier to see from a distance outside.
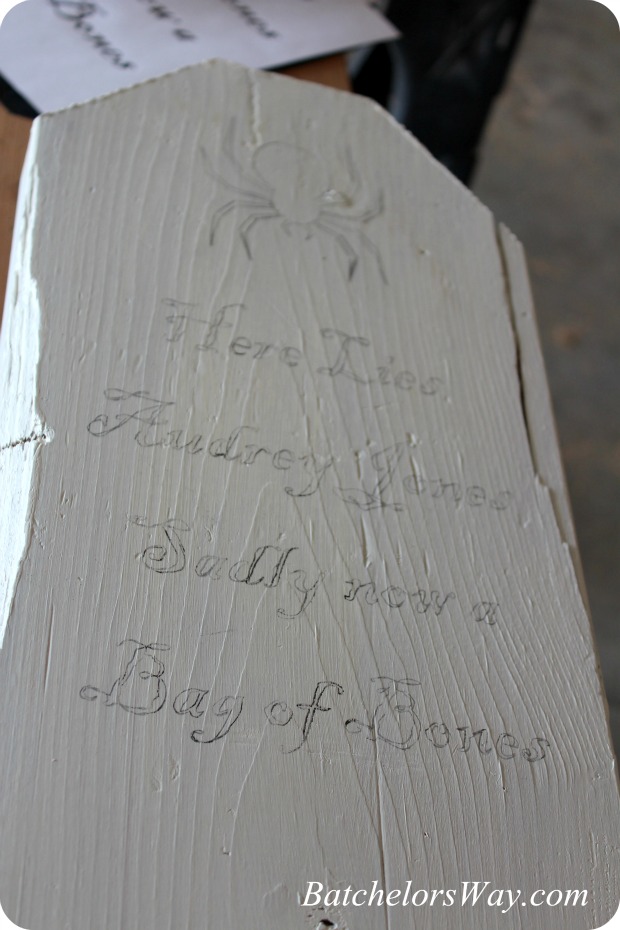
Once your done tracing, you should have a rough outline on your board.
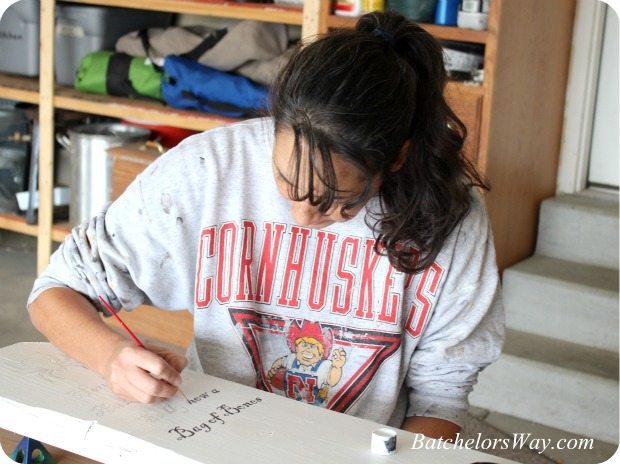
Then pull up a chair and start painting. I used black craft paint. You could use a permanent marker, but I find paint lasts longer, markers fade fast when exposed to the elements.
Painting goes quite fast.
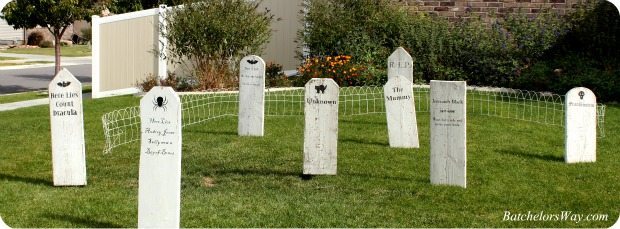
Make a Halloween Graveyard
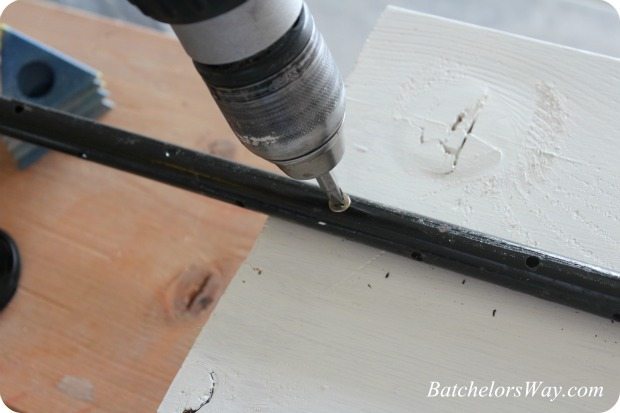
Once everything is dry you can attach the stake. There are little holes in these cement form stakes, I just put a couple of wood screws through two holes. Simply push your stake into the ground. If your ground is hard you might need to hammer on the stake to get it down. Don’t hammer the tombstone, it will break your screws off! Don’t ask how I know!
Over time these weather and look like they’ve been marking their graves forever. They definitely get better with age. Notice the chippy goodness of the older ones compared to my new spider one?

Try making some and clean out your workshop of some of that old wood laying around. I put some of my stakes on at an angle so the tombstones are at different angles not all straight up and down. Looks better, no?
We have TONS more Halloween decoration ideas you can check out!

Ronda Batchelor says
Love to here of a fellow Halloween nut!!!
Kelly Reber says
All I can say is L.O.V.E.!!!!!!! I am so doing this in my yard! I already told my Hubby he is making a casket for the yard! Cannot wait! Gotta finish my TRICK and TREAT Marquee signs first!
Elisha @ Pneumatic Addict Furniture says
I love them! So much better than the foam kind!
Jessica @ Decor Adventures says
Wow I love these! Super creative project and perfect for outdoor decorations!
Ronda Batchelor says
Thanks, what’s great is they look better each year as they age!